How to Print Place Cards Using Flat or Folded Mode
Choose Flat or Folded, add named fronts and a shared back separately, then print and check place cards at the correct finished size.
Use Flat when your file is one finished panel, or when the front and back are already joined in one open design. Use Folded in PrintGrid Pro Web when the named fronts and the shared back are separate files.
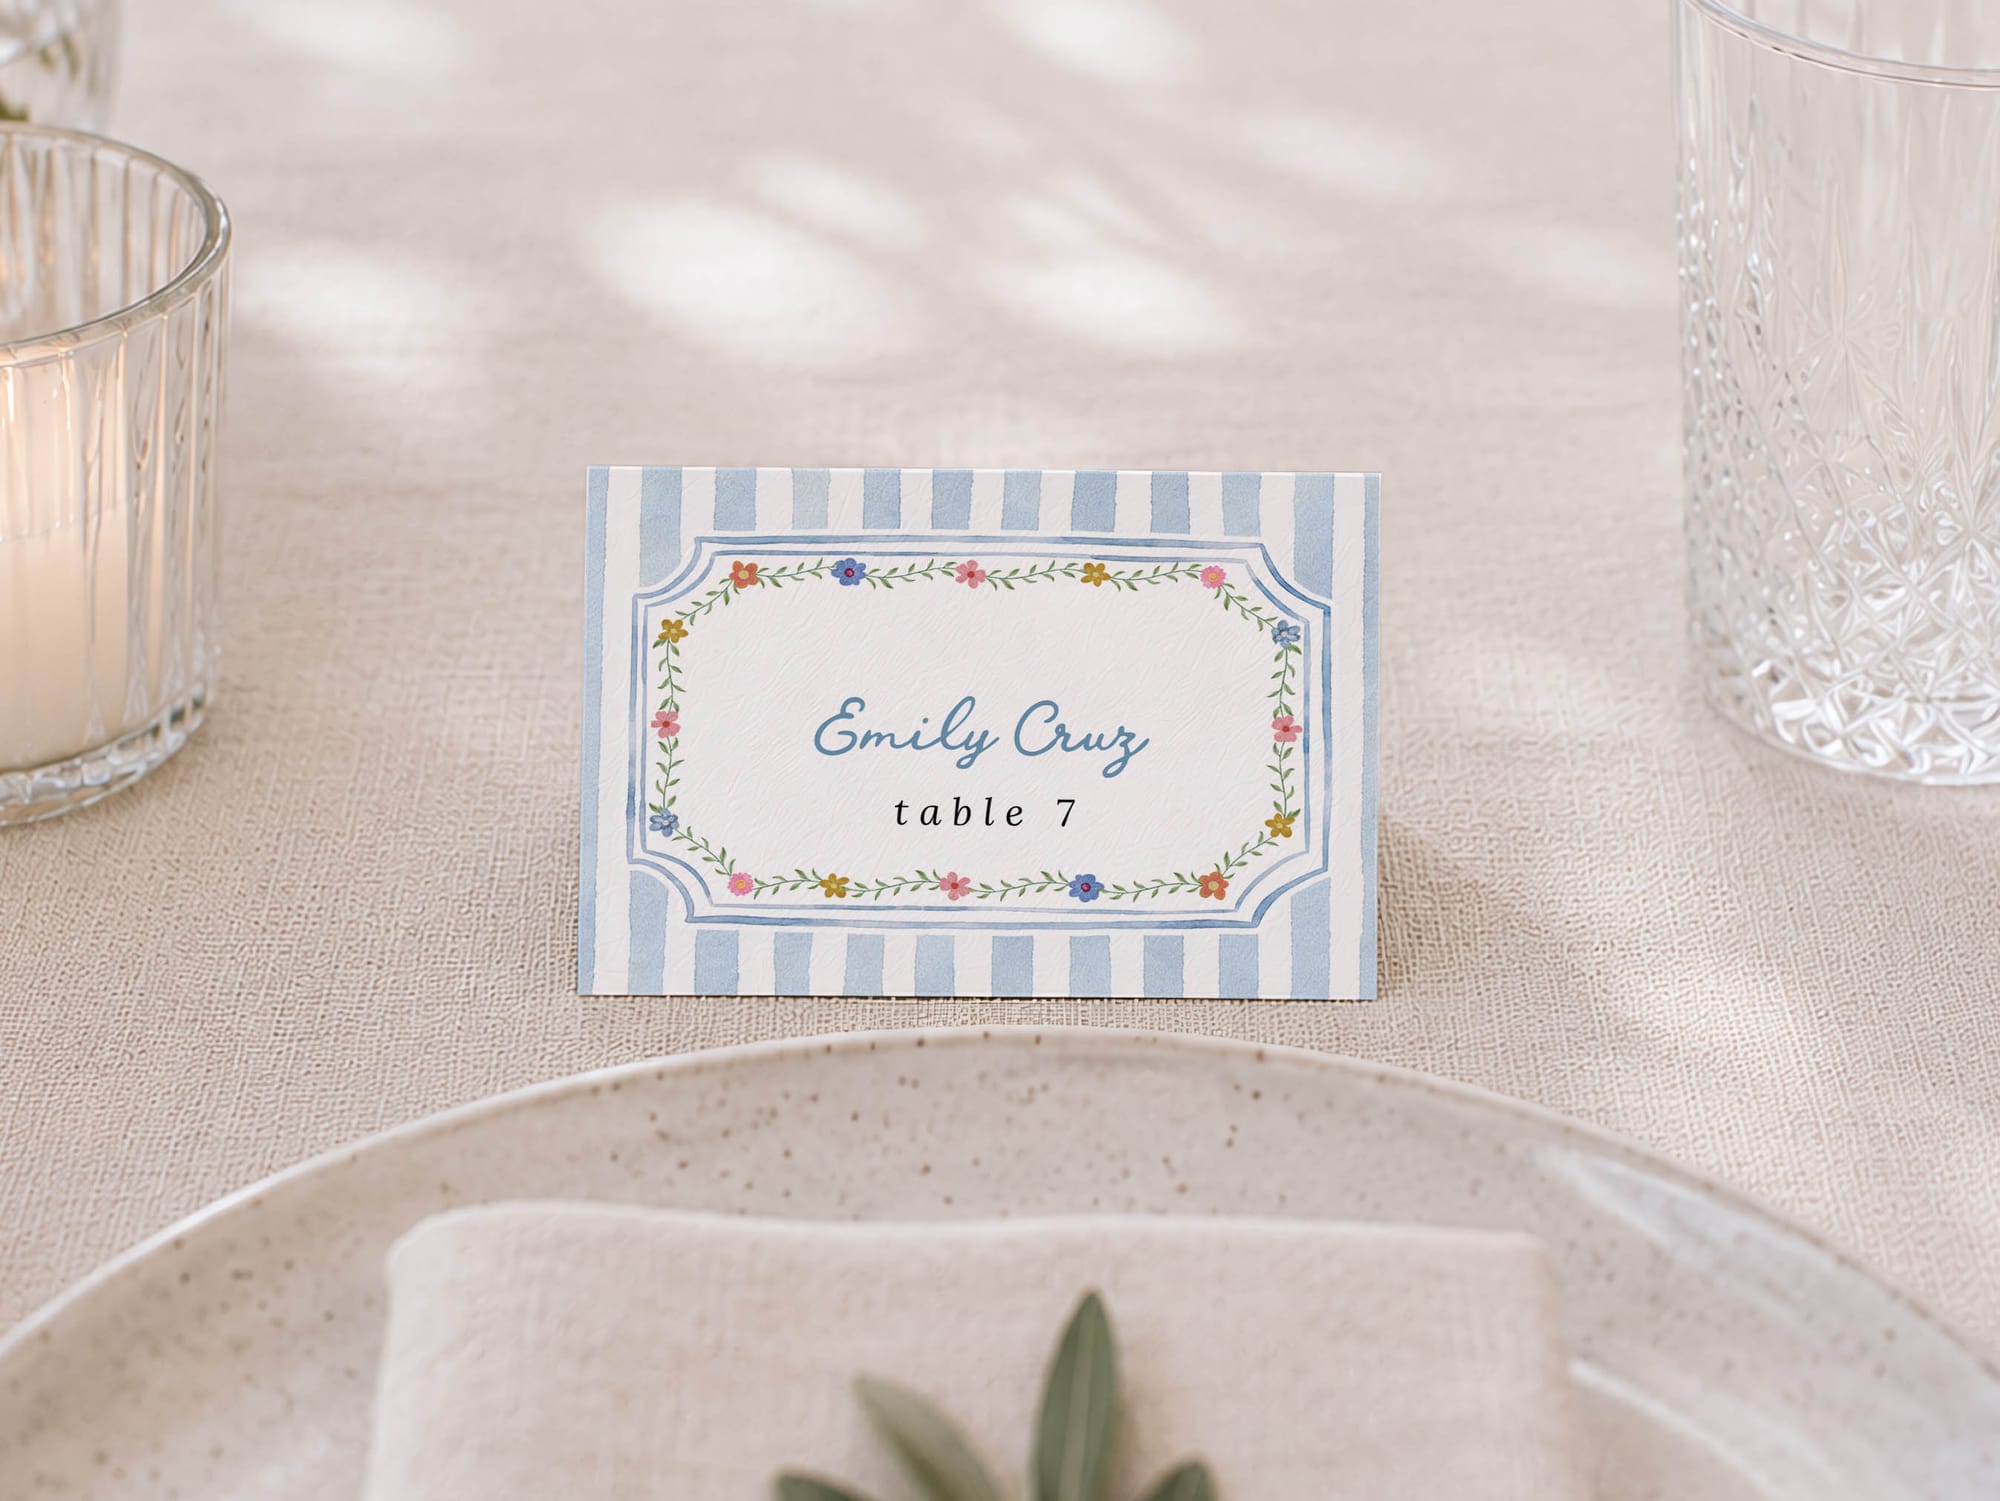
What you'll make
- Place cards with a different guest name on each card.
- A 3.5 x 2.5-inch flat card or finished folded panel.
- A 3.5 x 5-inch open top-fold card before folding.
- One test card to cut, measure, and check before printing the batch.
Choose the setup that matches your file
- One name-card panel: choose Flat, print, and cut.
- Front and back already joined in one open design: choose Flat, print, cut, and fold.
- Named fronts plus a separate shared back: choose Folded and Place cards in Web.
Keep your original Canva, Photopea, Photoshop, or Illustrator artwork. PrintGrid Pro arranges the exported cards on paper. You do not need to type the guest names again.
Option 1: Print flat name cards
1. Prepare every name at the same size
Create one card per guest. The supplied PDF pages are 3.5 x 2.5 inches. Check each name and table number before exporting.
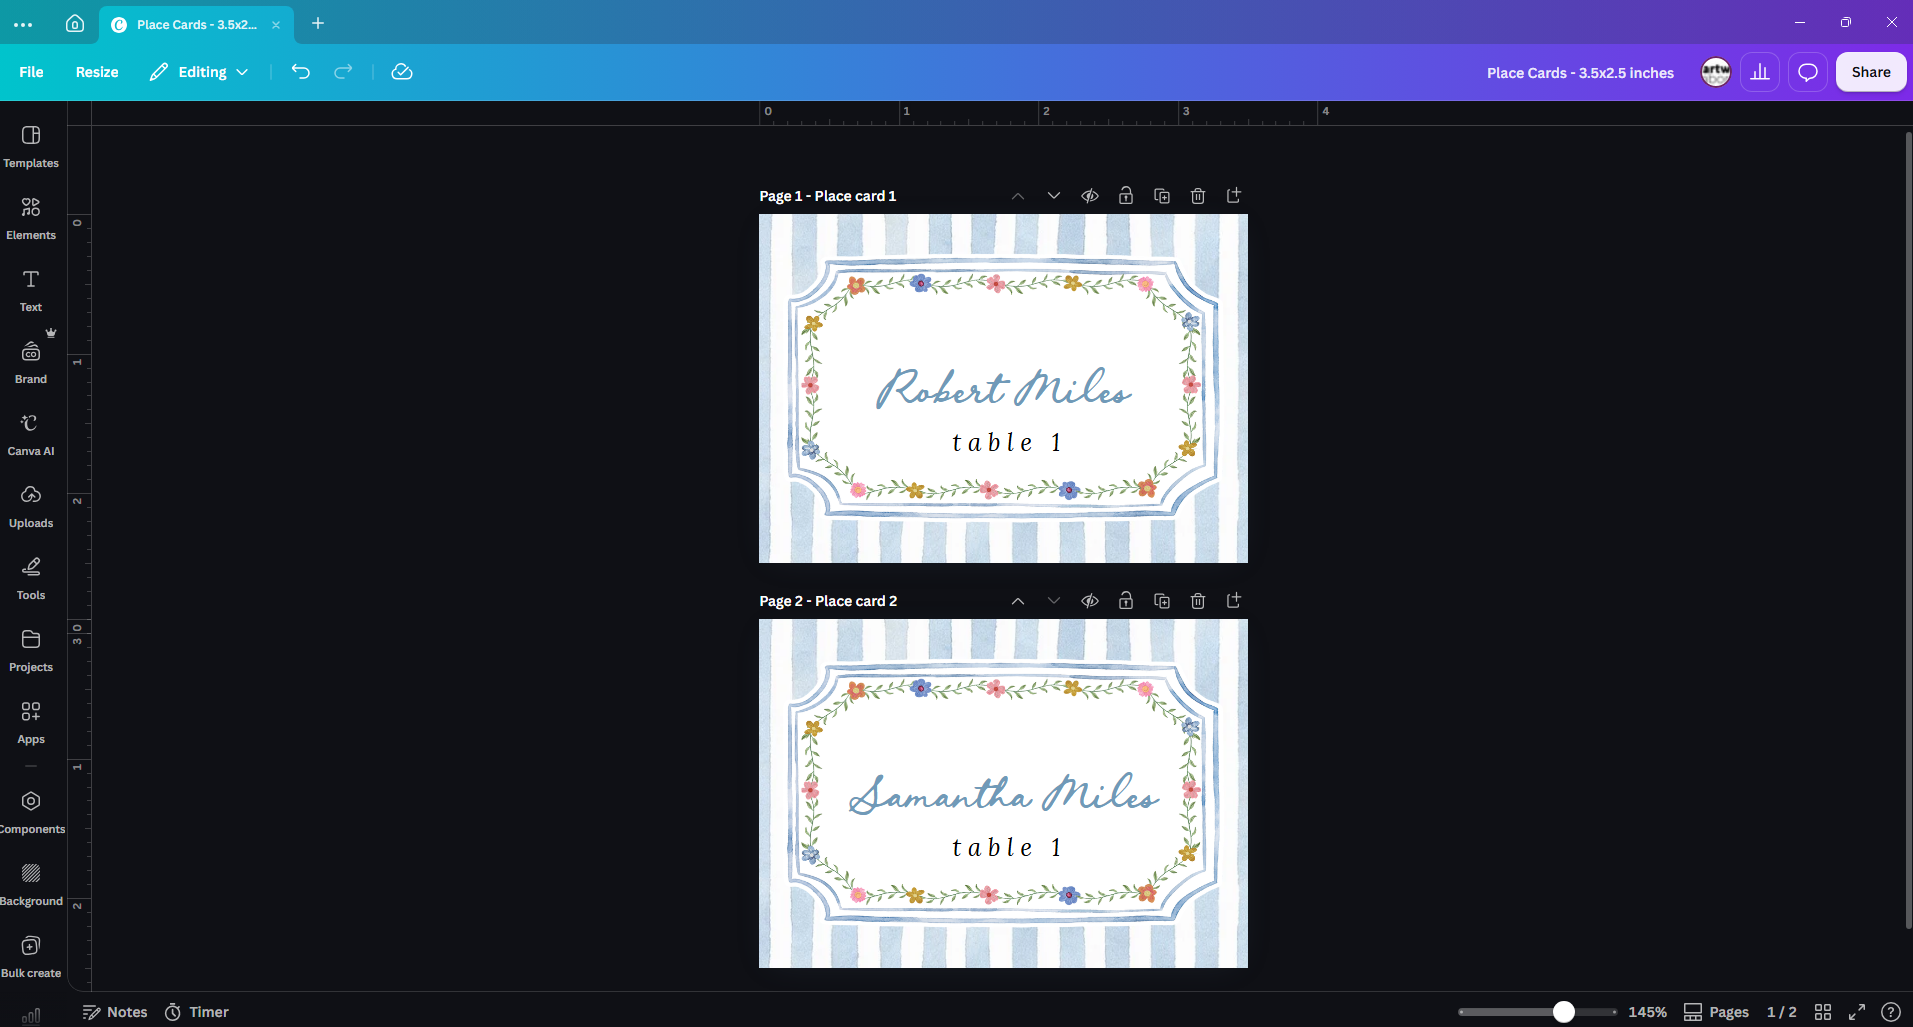
Check: export only the guest pages you need. If the Canva file also contains a shared back design, do not include that page in the front PDF.
2. Arrange different names
For a flat-card layout, choose Flat and the multiple-design option. Add the guest-name file, set the finished dimensions, and check how many copies are assigned to every guest.
Desktop can also arrange different pages. Choose All front pages in order, then check the paper, orientation, number of cards, and trim guides.
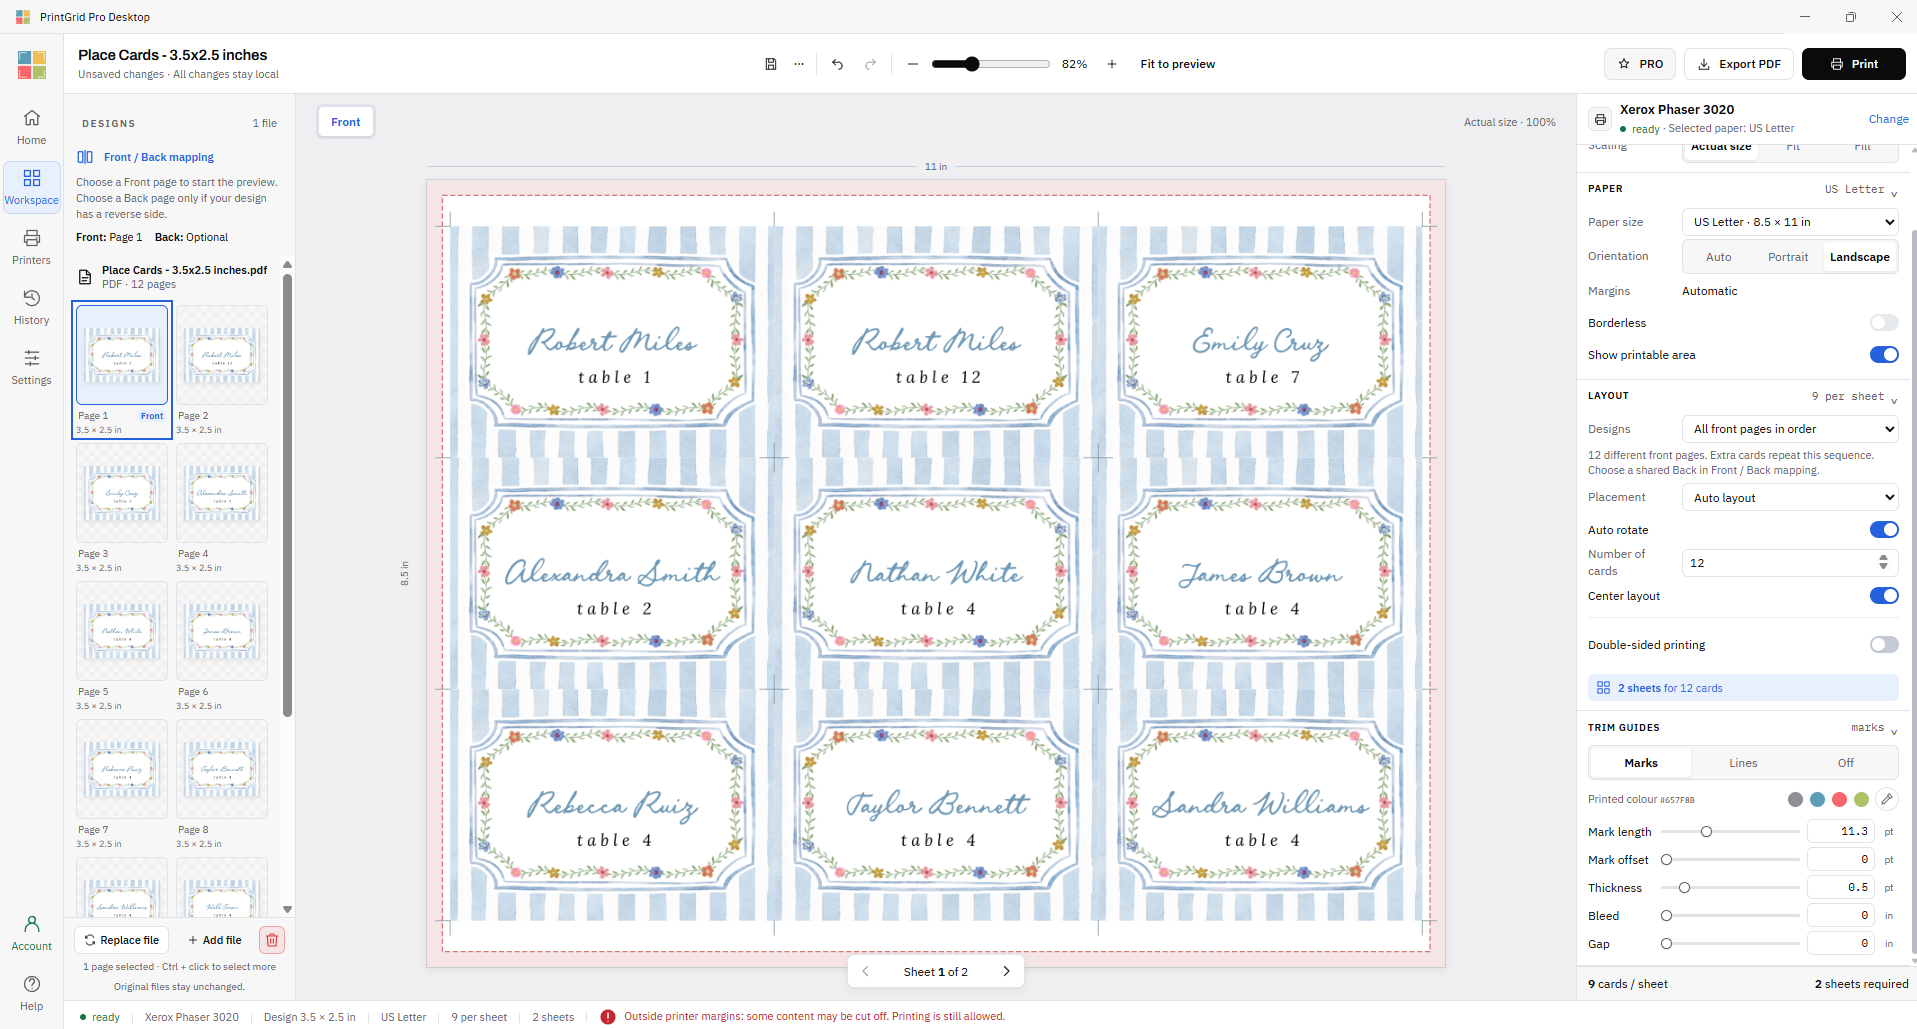
Check: every intended guest appears the correct number of times. Do not shrink the cards just to force more onto one sheet.
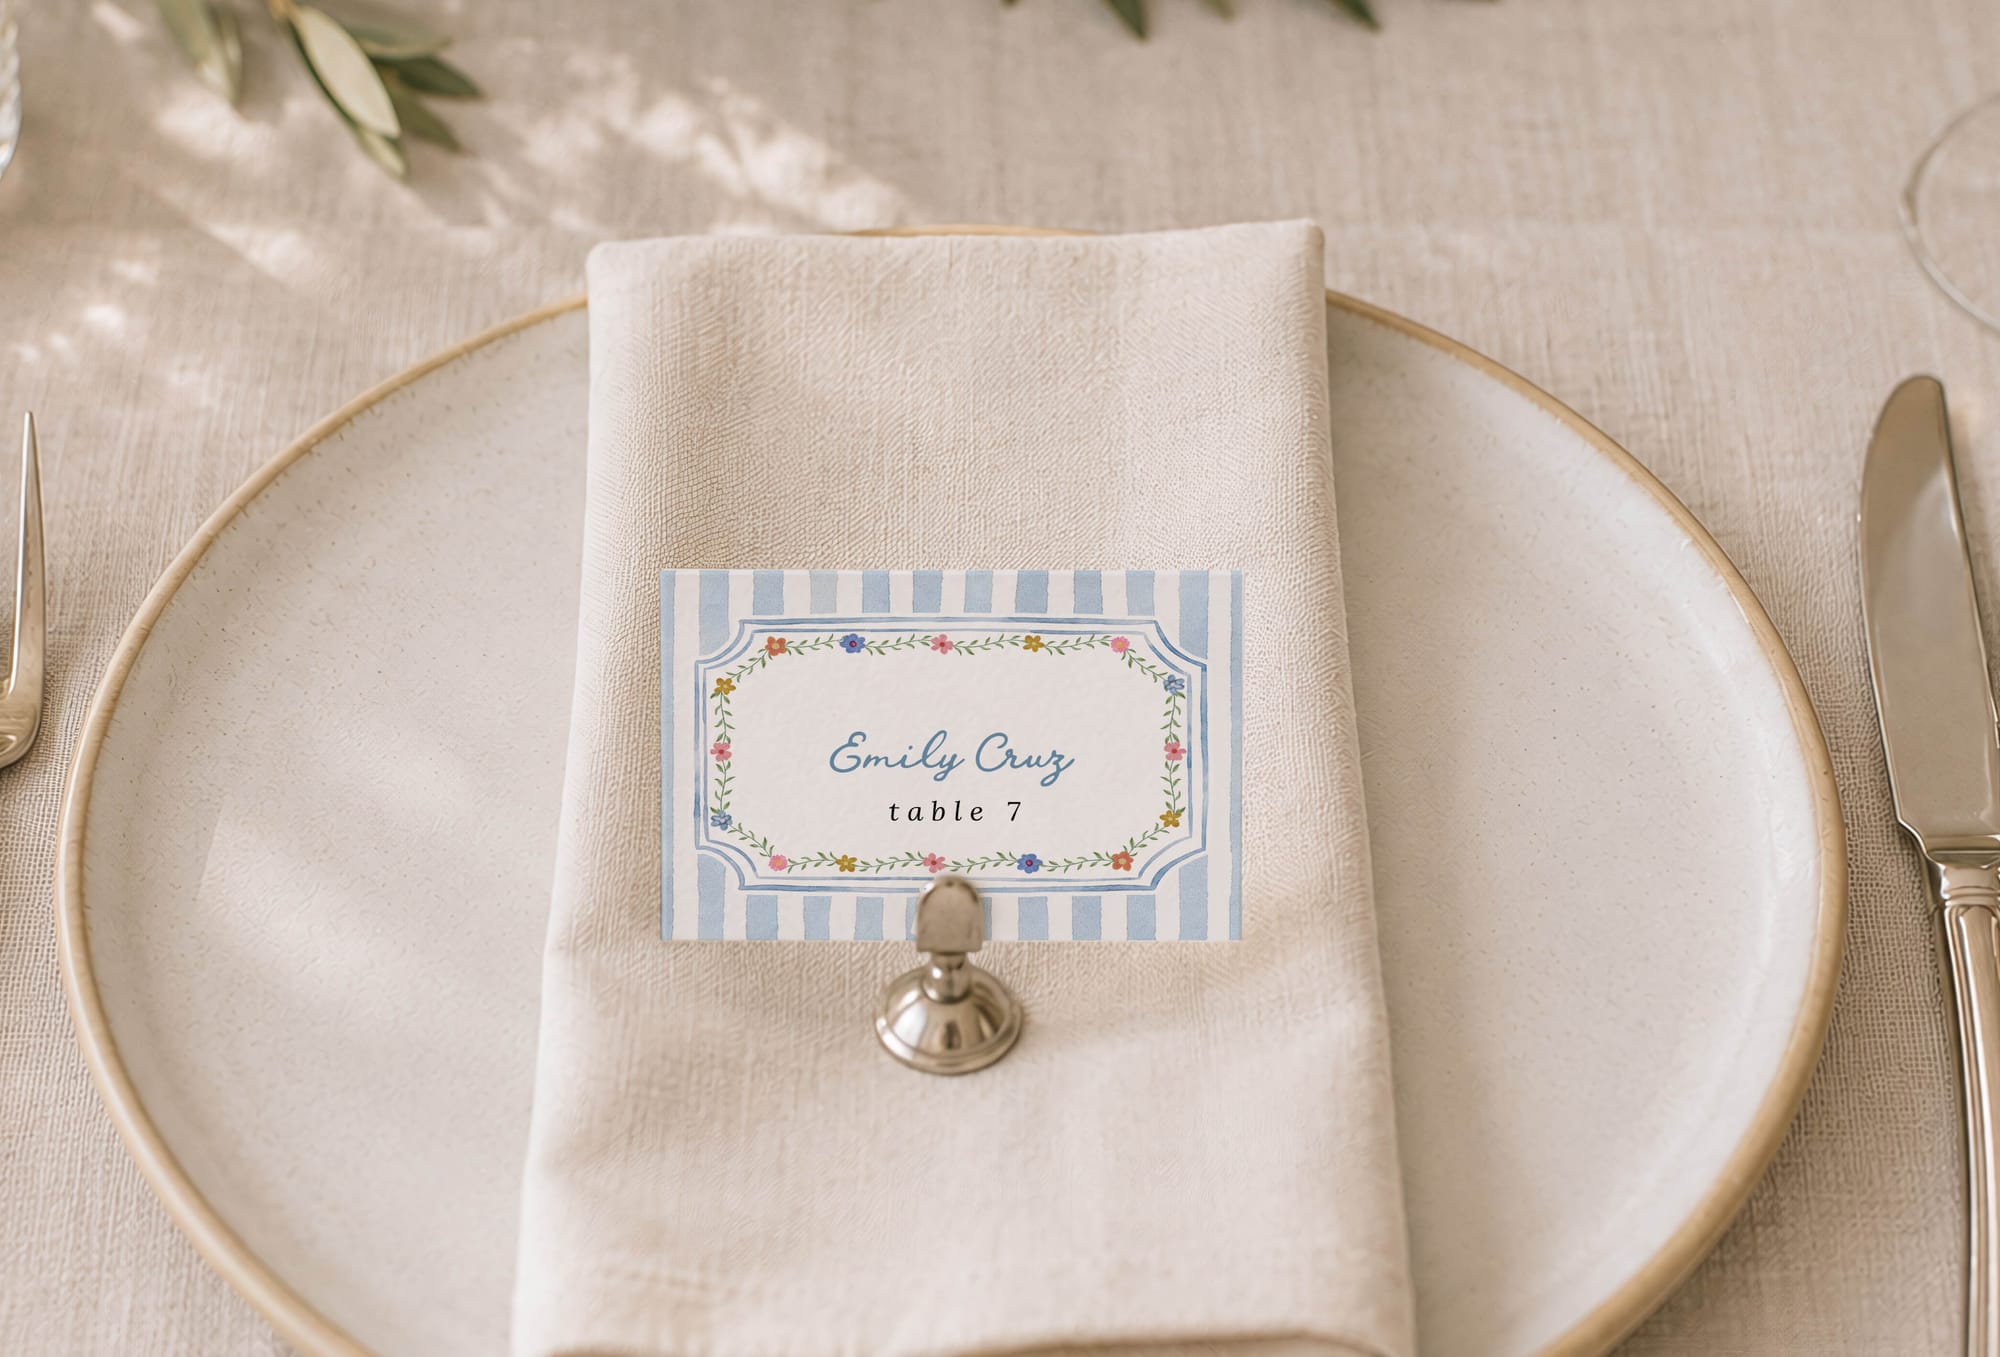
Option 2: Print a complete open card
1. Keep both panels together
This file already contains the striped back above the named front. It is one complete open card, not two separate uploads.
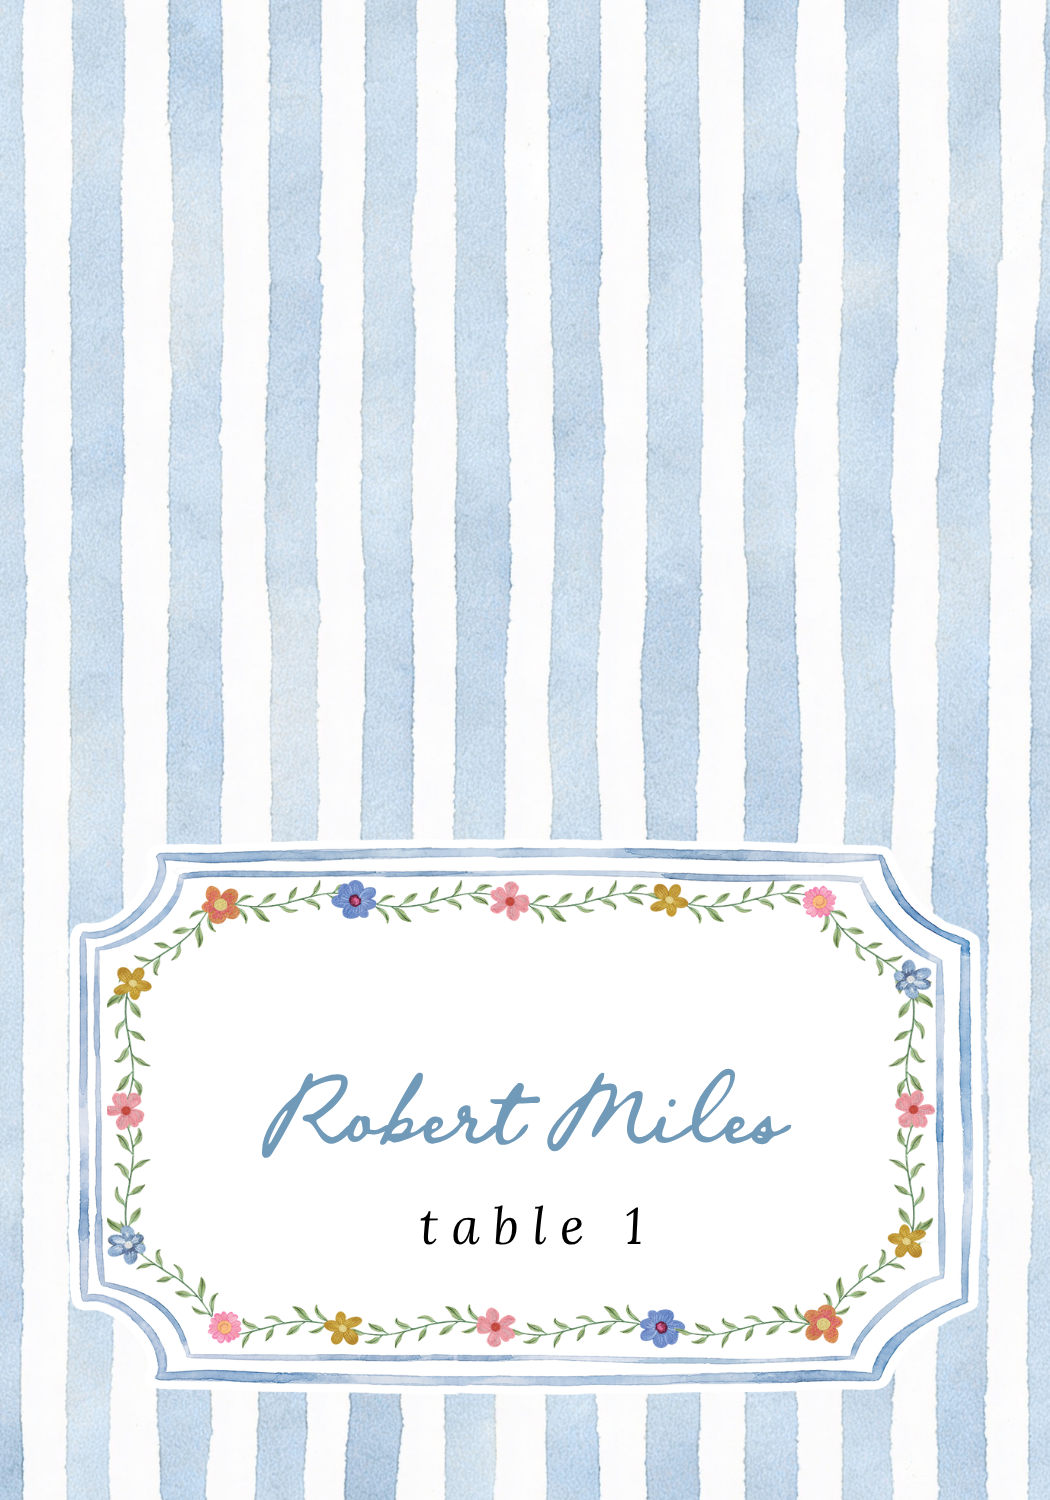
For a 3.5 x 2.5-inch finished panel, the open top-fold card is 3.5 x 5 inches before any outer bleed is added.
2. Choose Flat and use the open size
Choose Flat, even though the finished card will stand up. Keep each complete open card as one item. Do not set the whole open file to 3.5 x 2.5 inches, because that is only one panel.
Check: the name is upright after folding. Print one test sheet, cut one complete card, and fold it at the midpoint.
Option 3: Join separate fronts and a shared back in Web
1. Export two separate files
Export a PDF that contains only the guest-name fronts, with one guest per page. Export the shared back as a separate single-page file.
Important in Web
The front designs and the back are added as separate files. You cannot choose another page or card from the PDF already uploaded as fronts and assign it as the Backside. Export the back page separately, then add it with Add Backside.
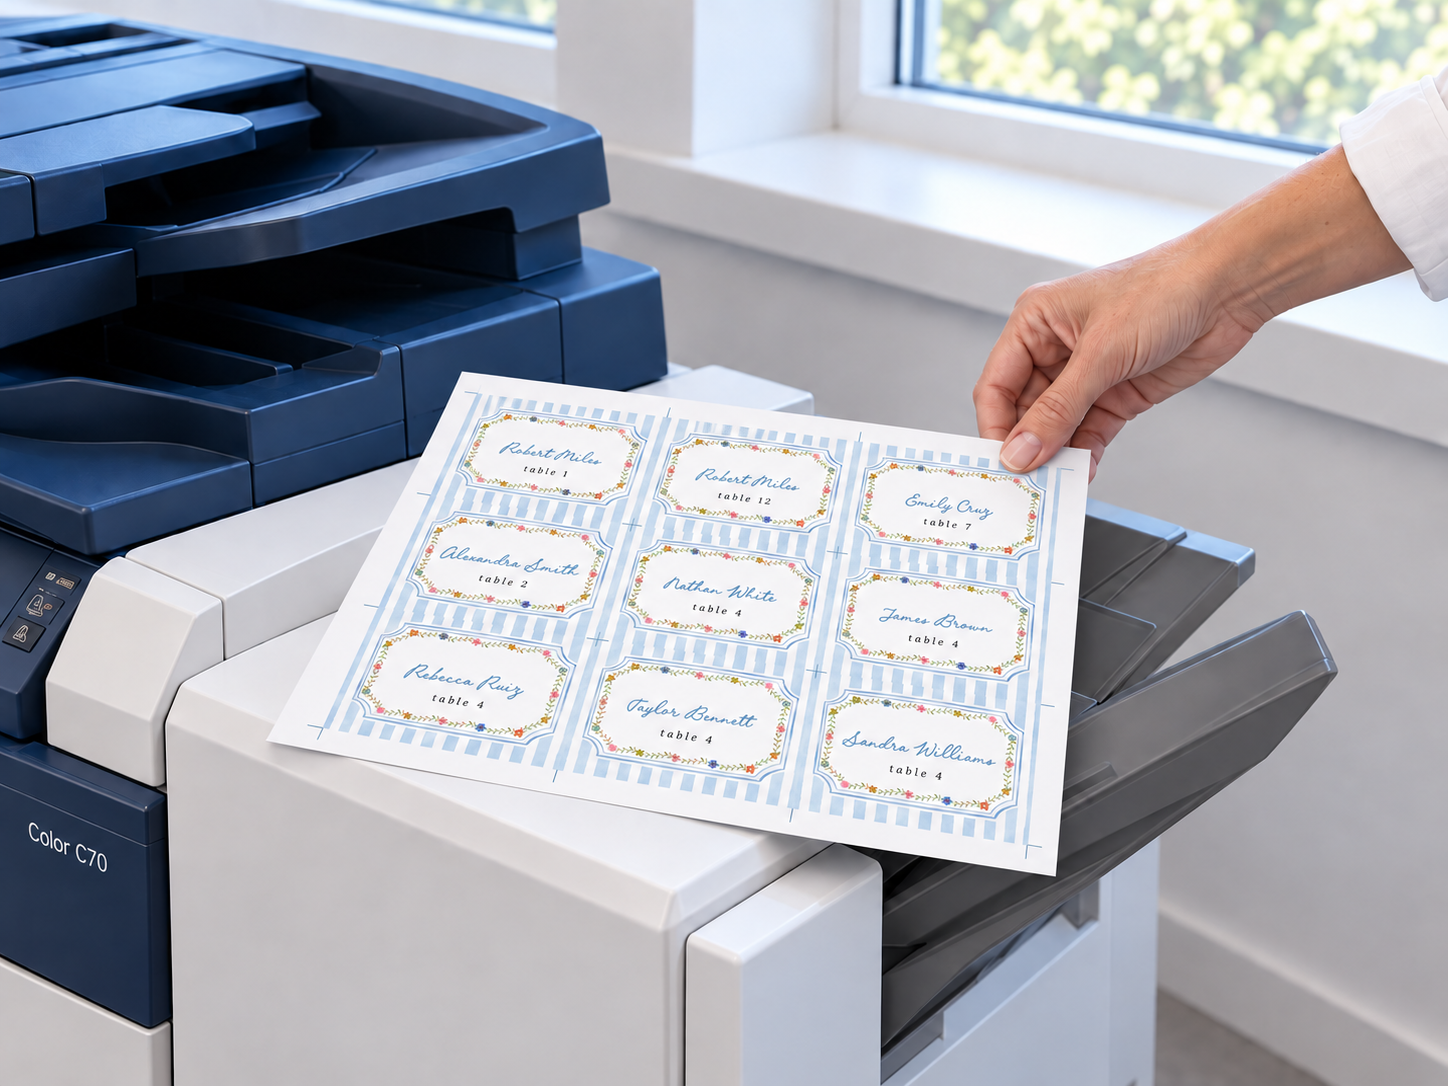
The supplied 12-page sample has 11 named pages and a striped back on page 12. Export pages 1 through 11 as the fronts. Then use the separate back file. Also check the guest list: the sample repeats Robert Miles with different table numbers.
2. Choose Folded, Place cards, and Top
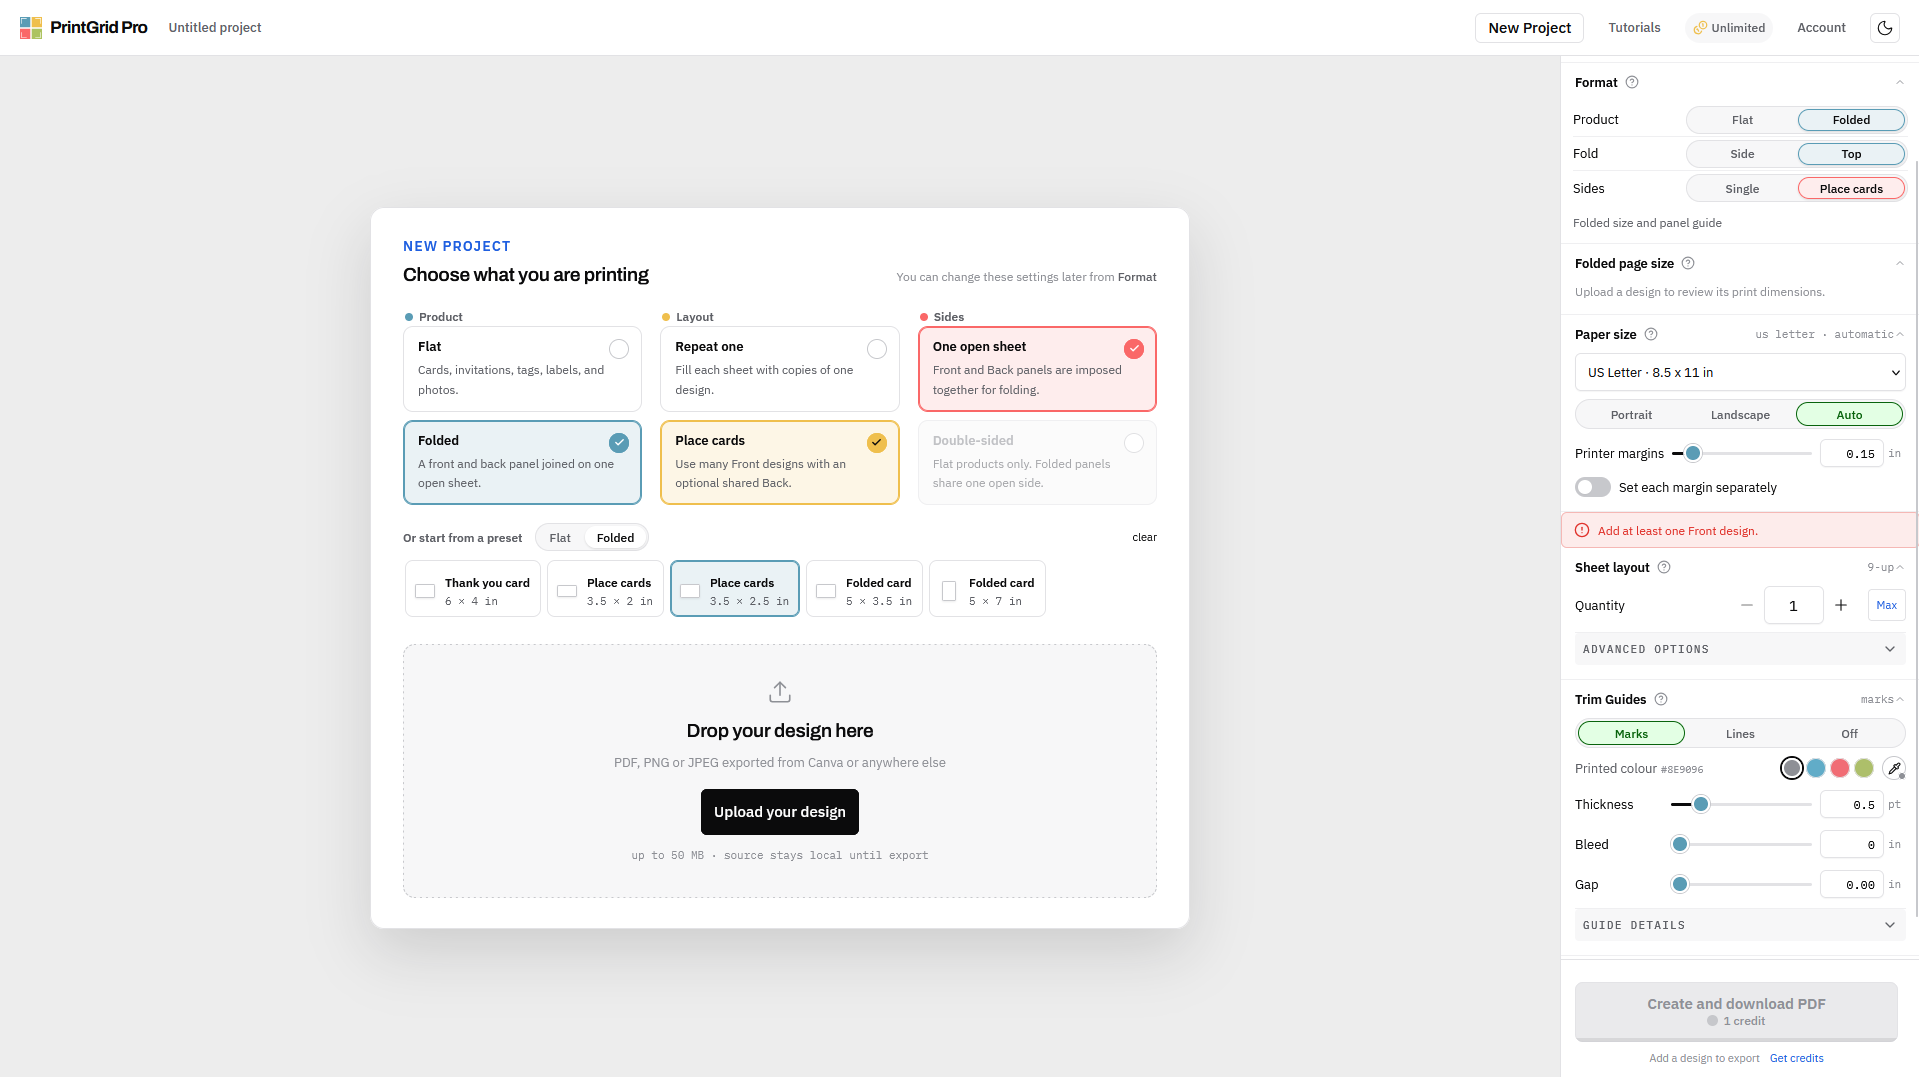
Add the front-only PDF with Add Front designs. The two joined panels make a 3.5 x 5-inch open card.
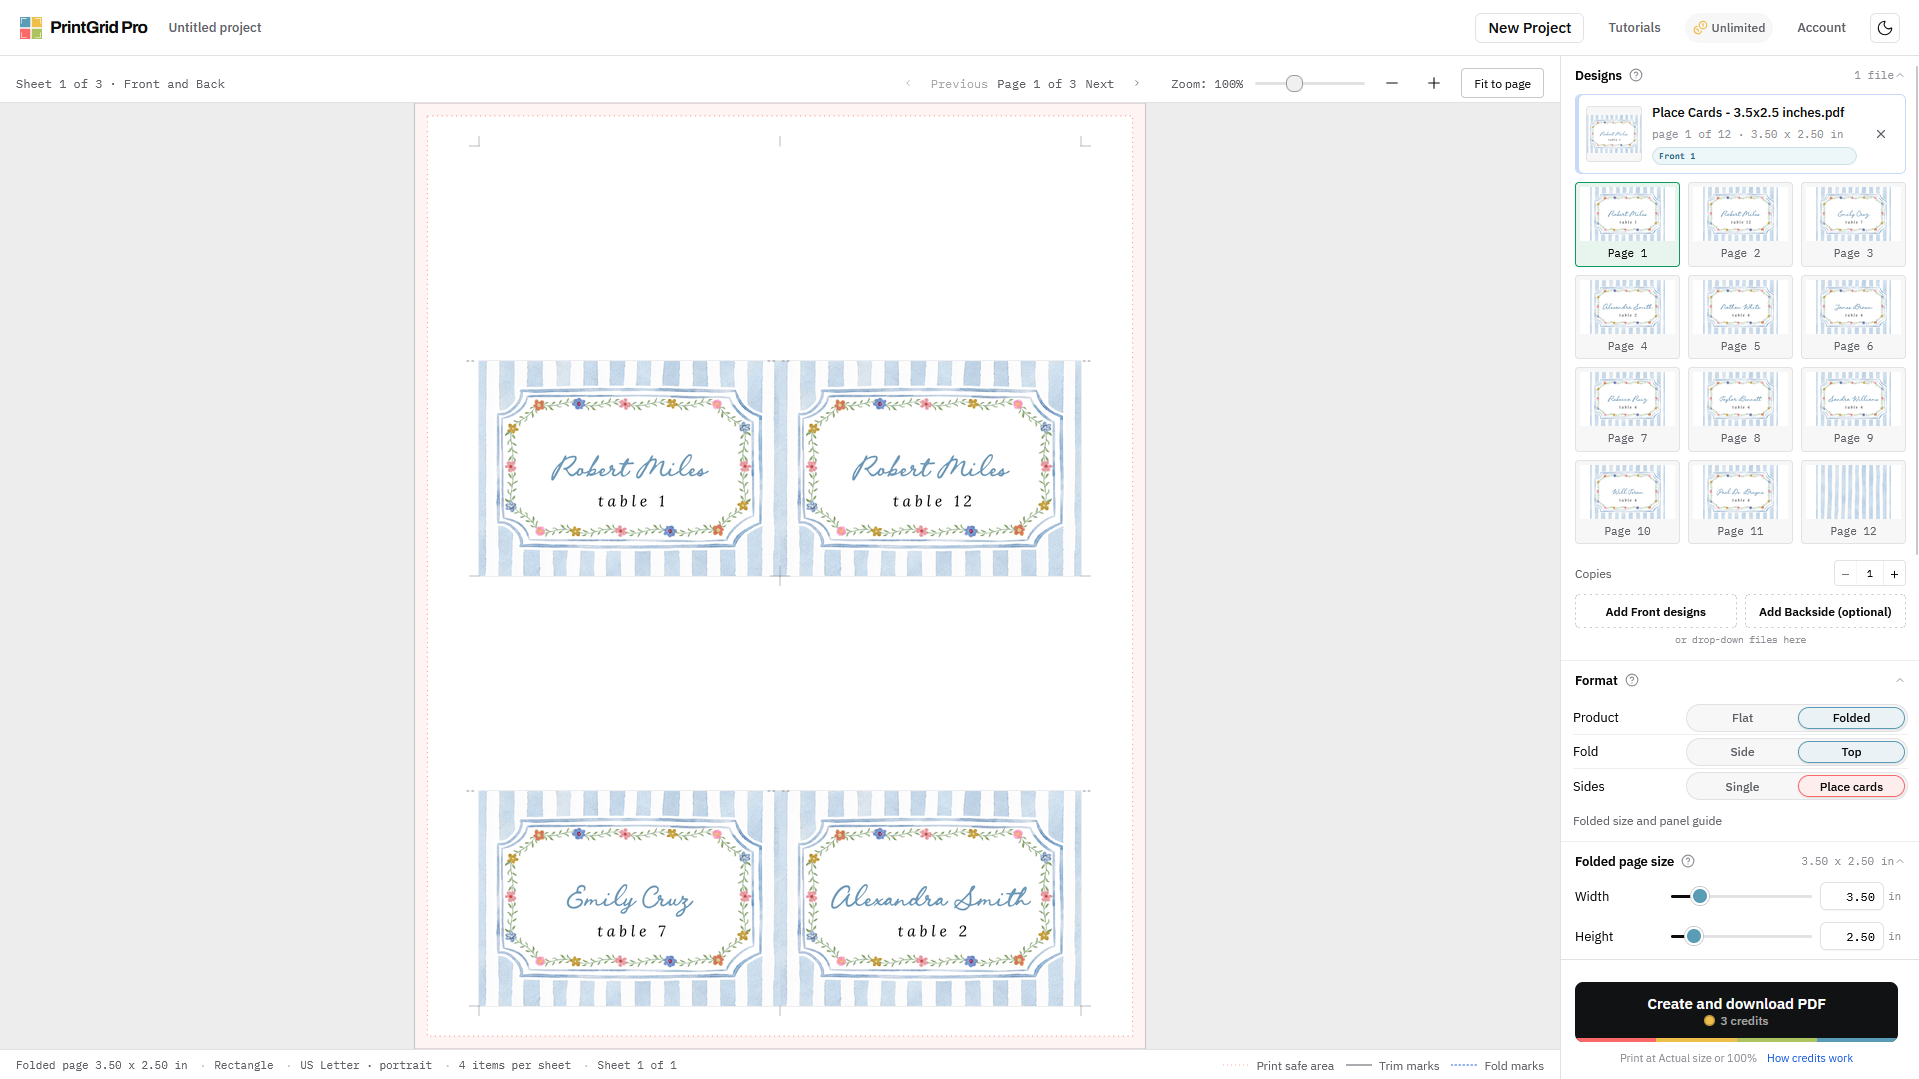
Check: the front upload contains names only. Remove any extra back-only page from that PDF.
3. Add the back with its own button
Click Add Backside (optional) and choose the separate back file. The button changes to Replace Backside after the back is assigned. Web repeats that shared back next to each different front.
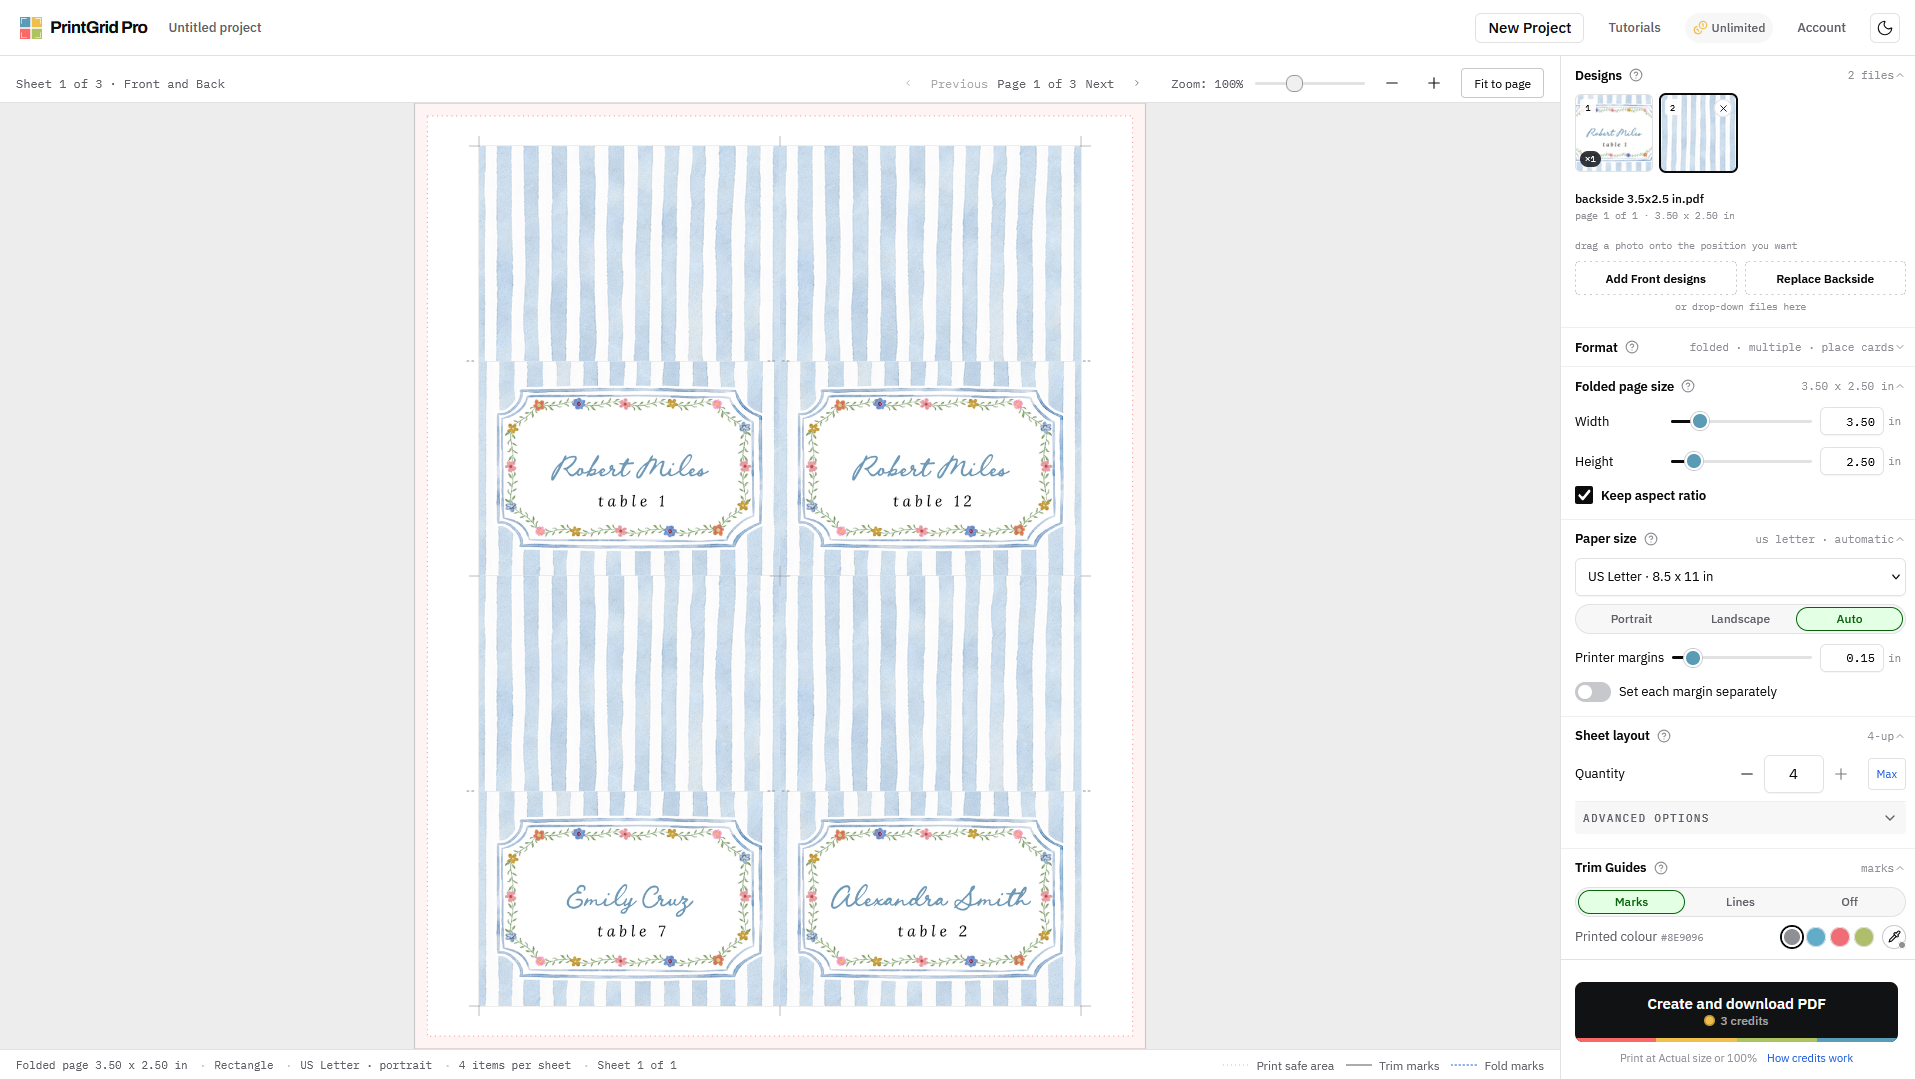
Check: review every sheet, especially the last one. There should be no extra card made from a back page left among the fronts.
4. Download the arranged PDF
Click Create and download PDF. Review the displayed export cost or access, then download the arranged sheet. Web exports use trial credits or paid access.
This folded setup prints both panels on the same face of the paper. Folding makes them face outward. Do not turn on duplex for this example.
Do not confuse this with Desktop Back mapping
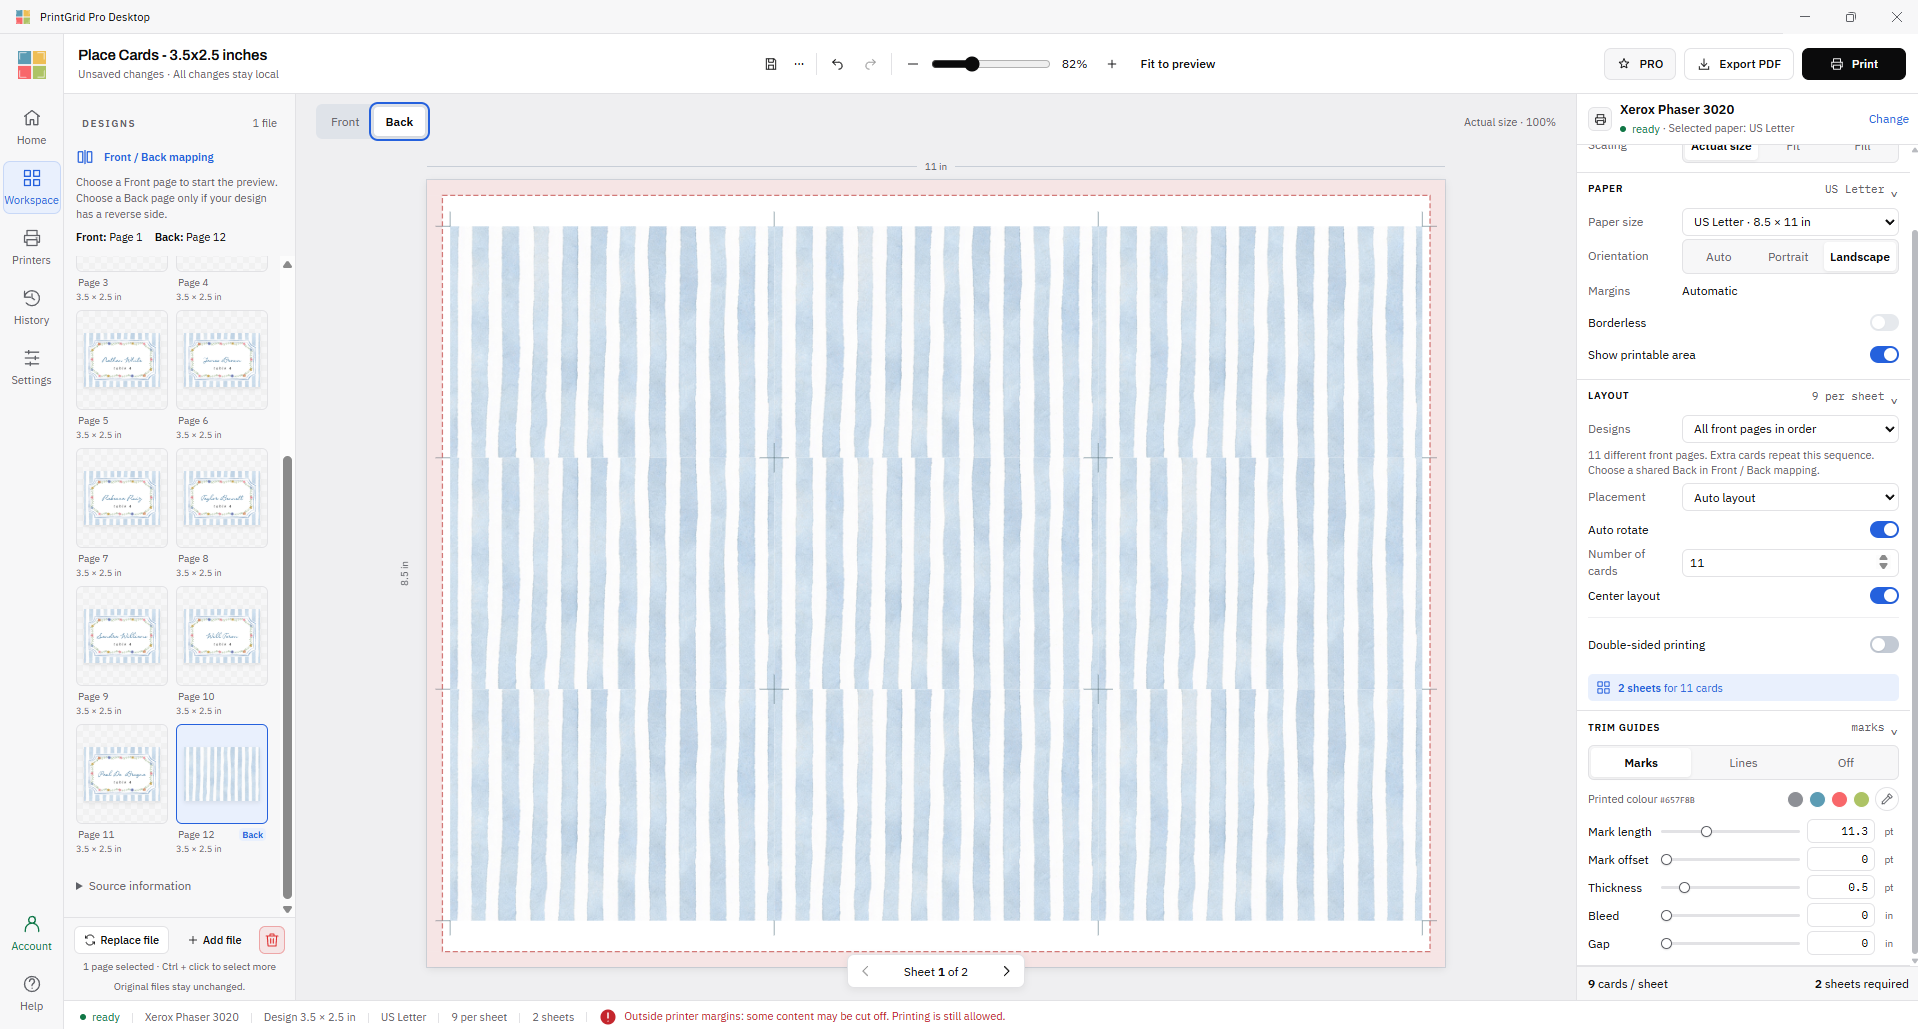
For the separate-panel folded workflow above, use Web to join the panels first. Then print the already arranged PDF in Desktop.
Print, cut, and check one card
Desktop Free can print the page contents of an existing PDF. Desktop Pro is optional when you want Desktop to create a new multiple-card layout or new Pro cutting guides. You do not need to rebuild a Web-exported layout just to print it.
- Open the downloaded full-sheet PDF in Desktop.
- Choose the paper size used by the PDF, such as US Letter.
- Select Actual size / 100%, not Fit or Fill.
- Keep one existing PDF page per sheet. Do not arrange the cards again.
- Turn new Desktop Trim Guides off when the PDF already has the guides you need.
- Resolve printer warnings and print one test sheet.
- Cut one card, measure it, and fold it if needed. Check the name and both panels.
What about bleed?
The supplied screenshots show Bleed: 0. The striped background reaches the card edges, so a shifted cut can leave a white sliver. These screenshots do not confirm that the source files already contain bleed.
For artwork that reaches the finished edge, prepare the extra background and check the final dimensions. For a white card with no artwork at the edge and content safely inside, bleed is not needed. Crop marks can still help with cutting.
See How to Prepare Bleed in Canva for PrintGrid Pro.
Quick fixes
- Every card has the same name: use the multiple-design or Place cards route and check the counts.
- An extra striped card appears: remove the shared-back page from the front PDF and upload it separately with Add Backside.
- The complete open card is too small: use its full open dimensions in Flat mode, not one panel's dimensions.
- The back faces the wrong way: check Top fold direction with one paper test. Do not enable duplex to fix this one-face layout.
- The printer warns about margins: adjust the layout or use fewer cards. Do not ignore the warning or shrink the card without checking its final size.
Once the test card has the right size, correct name, clean edges, and the right fold, use those settings for the remaining sheets.