How to Print Double-Sided Invitations
Print two double-sided 5x7 invitations on Letter paper. Check the front and back, PDF page order, duplex edge, actual size, and one test print.
Prepare two double-sided 5 x 7-inch invitations on one US Letter sheet. Arrange the fronts and backs in Web, download the PDF, then print one test sheet before making the full batch.

Keep the design you already made
Start with the finished front and back from Canva, Photopea, Photoshop, Illustrator, or your usual design tool. Export the artwork as PDF, PNG, or JPEG. Use PrintGrid Pro to arrange copies on a larger sheet instead of rebuilding the print sheet in your design file.
What you'll need
- A front and a back with the same intended card size.
- US Letter paper supported by your printer.
- A printer with a suitable automatic or manual double-sided workflow.
- A ruler and a paper cutter used according to its safety instructions.
Keep both designs at the same intended size.
1. Add the front and back

Open PrintGrid Pro Web and add both designs. Select Flat, Repeat one, and Double. Assign the invitation front and back to their correct positions.
Check: both designs appear in the project. Do not use the front artwork for both sides by accident.
2. Set the card and paper sizes
- Finished design: 5 x 7 inches.
- Paper: US Letter, 8.5 x 11 inches.
- Orientation: Auto. This example uses landscape.
- Quantity: 2.
The JPEG's estimated source size is not the finished card size. Confirm 5 x 7 inches in the design controls and keep the artwork proportional.
The screenshot uses a 0.15-inch printer margin. Use margins your printer supports. More margin, gap, bleed or guide space can reduce the number that fits.
Check: the preview shows two full-size cards on the sheet, with readable artwork and visible cutting marks.
3. Check the front, back, and flip edge
The example uses Short flip edge. Match that edge when printing this landscape layout. Do not assume one edge is correct for every orientation and design.
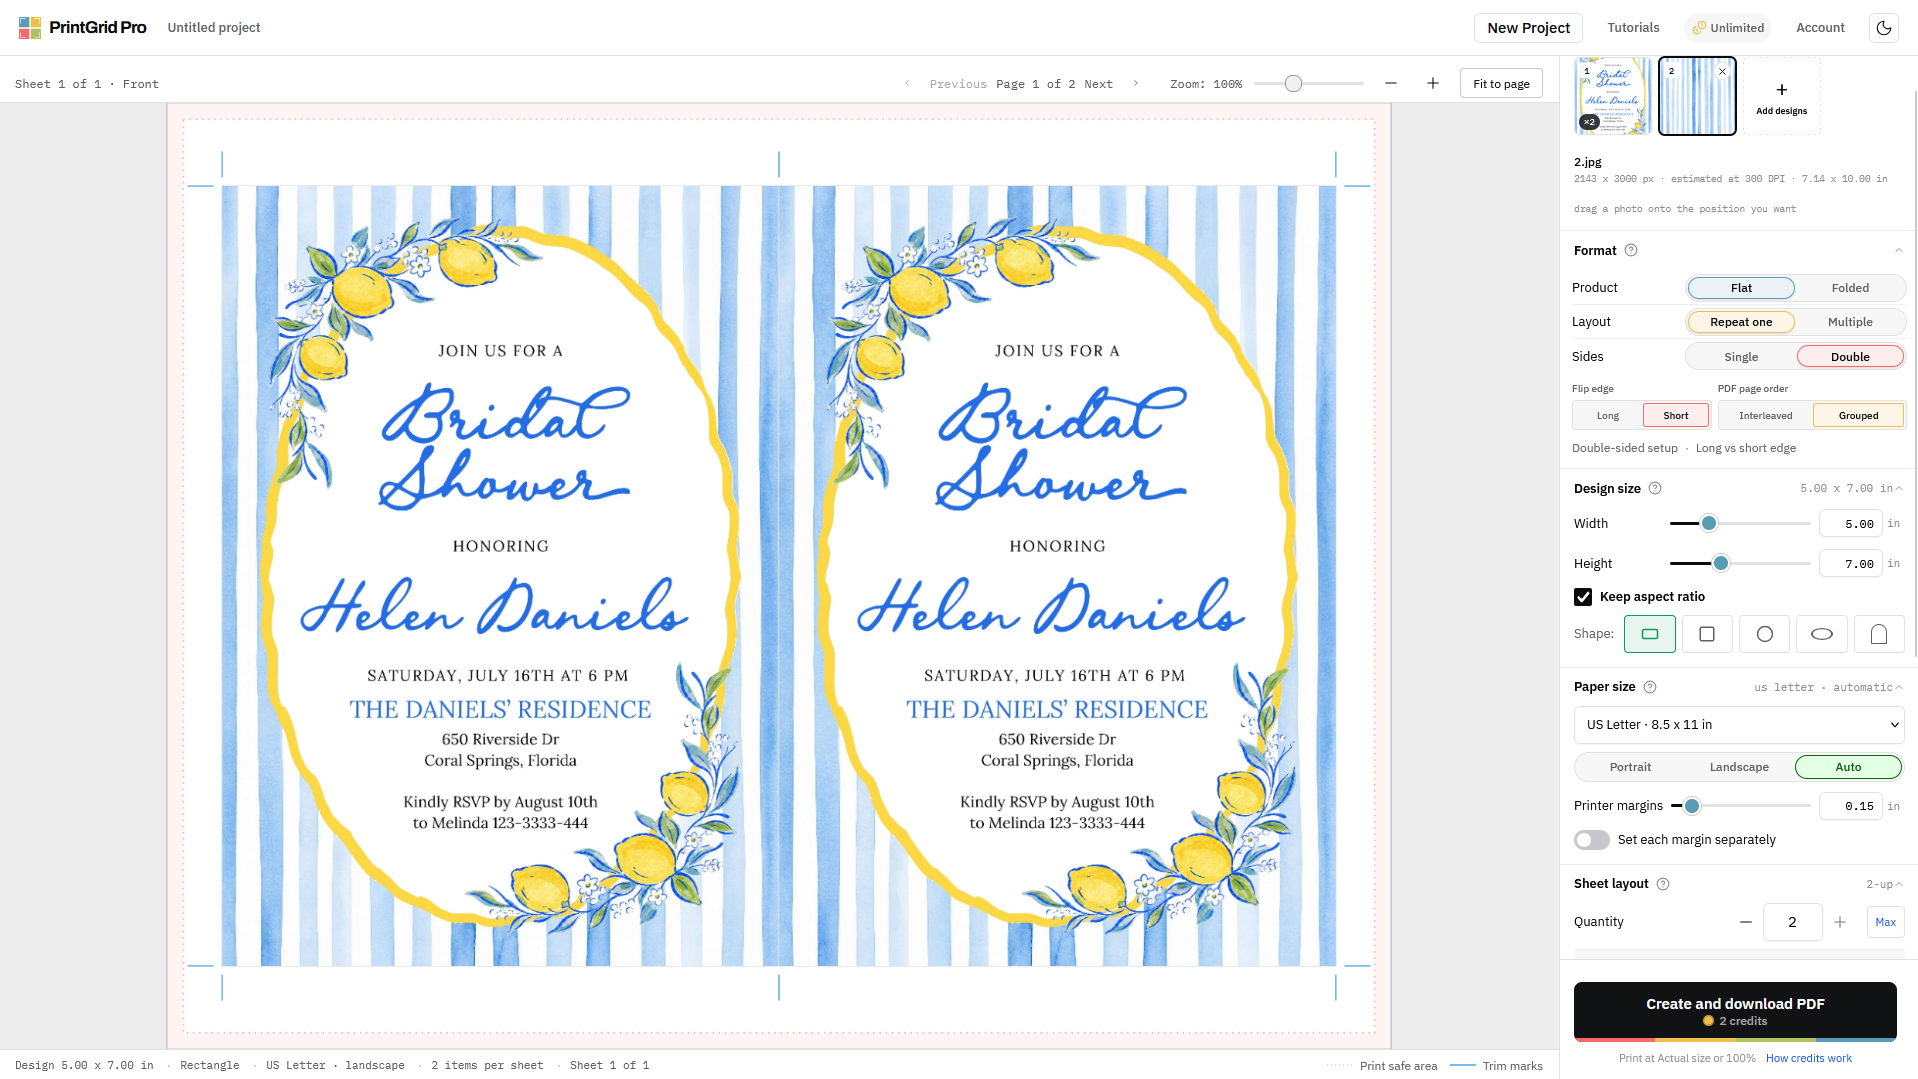
Switch to the back preview. Check the correct artwork is assigned to each side. The supplied PDF has two pages: invitation fronts first, striped backs second. Both pages are 11 x 8.5 inches.
Check: both sides contain two matching card positions. A screen preview does not prove your printer's physical front-to-back alignment.
4. Download the complete sheet PDF
Select Create and download PDF after checking the displayed cost. This example shows two credits for its two output sides. Web trial credits are not unlimited free exports.
Open the downloaded PDF and check both pages before printing. The example uses Grouped page order. With this one-sheet job, you have one front page and one back page. For a larger automatic-duplex job, check page order separately: do not copy Grouped without checking which front and back will print together.
Check: the PDF already contains the arranged sheets. Do not apply another two-pages-per-sheet layout when printing.
5. Print the PDF in Desktop
On Windows, open the complete PDF in PrintGrid Pro Desktop. Printing the PDF's existing page contents is free. You can also print it using another suitable PDF application.
Desktop Free: print the original PDF, including the card layout and marks already inside it. Desktop Pro: create and output new multiple-card layouts or new cutting guides in Desktop. You do not need to rebuild this Web PDF.
- Select the printer and US Letter, landscape paper.
- Keep the sheet at Actual size / 100%, with one PDF page per side.
- For supported automatic duplex, use the flip edge matching the layout. This example shows Automatic short edge.
- Check warnings and print one test sheet. For manual duplex, follow your printer's reloading instructions instead of guessing which way to reinsert the paper.
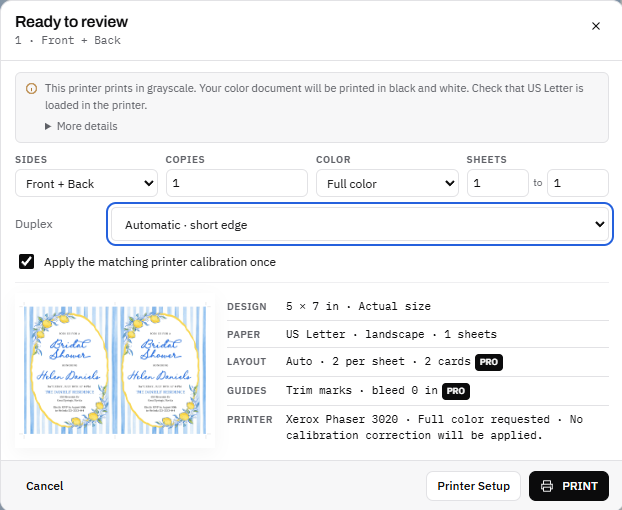
A Full color selection cannot add color support to a grayscale printer. The calibration checkbox is not proof of corrected alignment: this review says no calibration correction will be applied.
6. Test both sides, then trim
Turn over the test sheet and check that the back faces the intended way. Check the front and back against the same cut positions. Trim one invitation and measure it: the finished card should be 5 x 7 inches.
If the test is correct, print the rest. Follow the trim marks and your cutter's safety instructions. The following supplied scenes illustrate the stages; they are not a record of a measured print test.
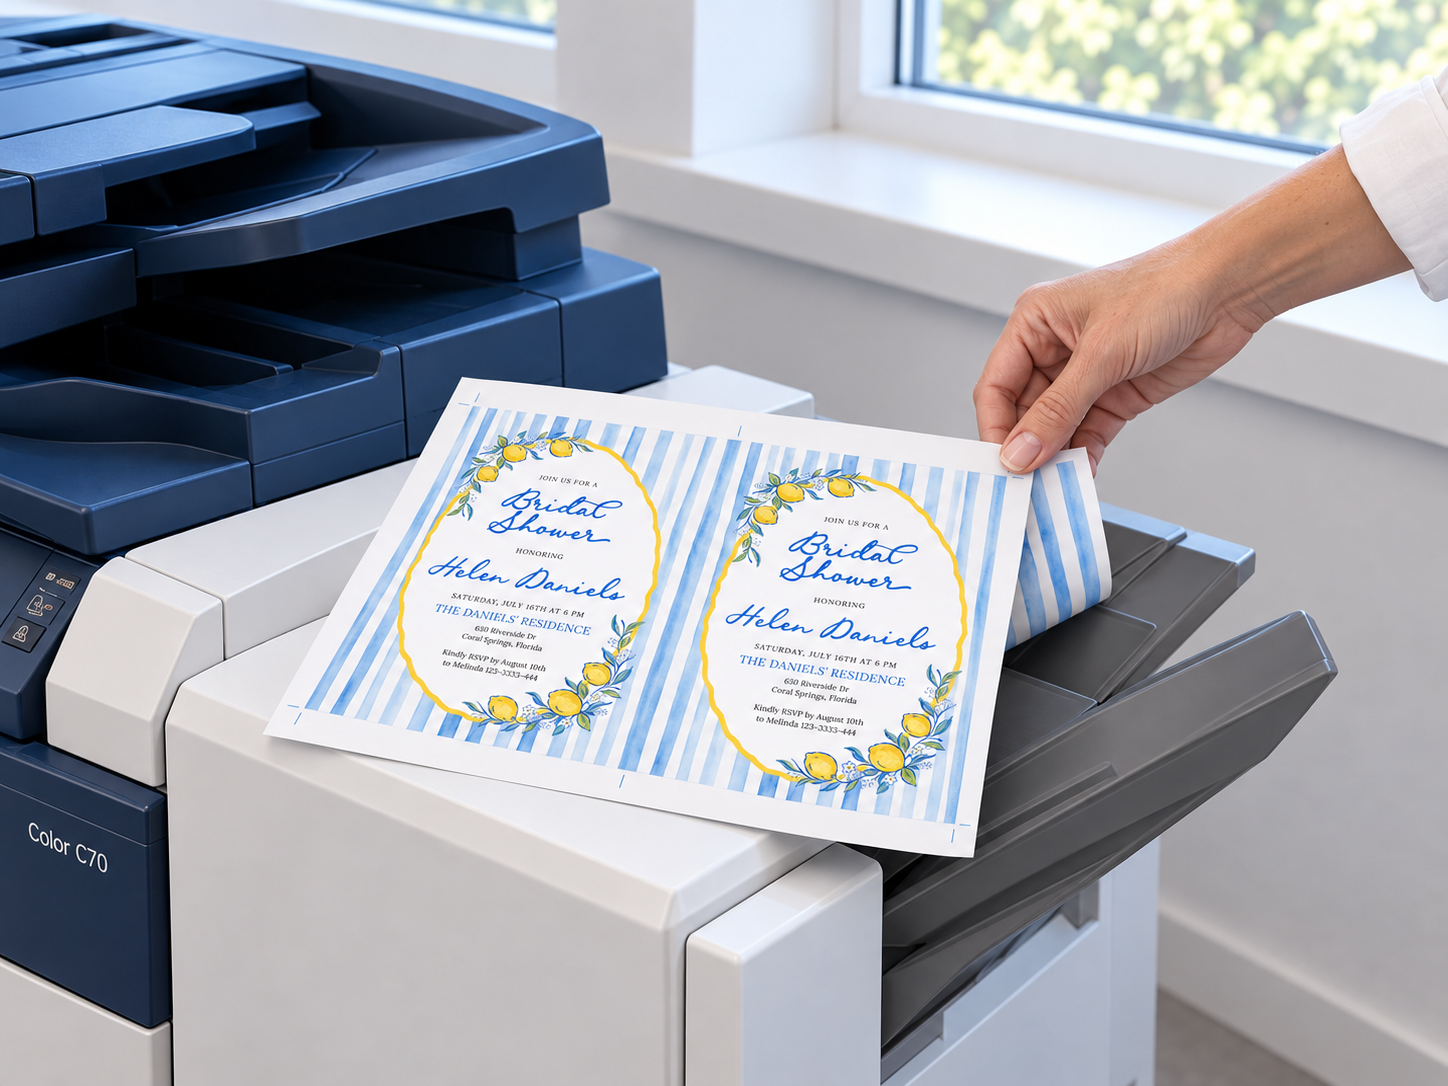
Print one test sheet. Check its front and back before making a batch. 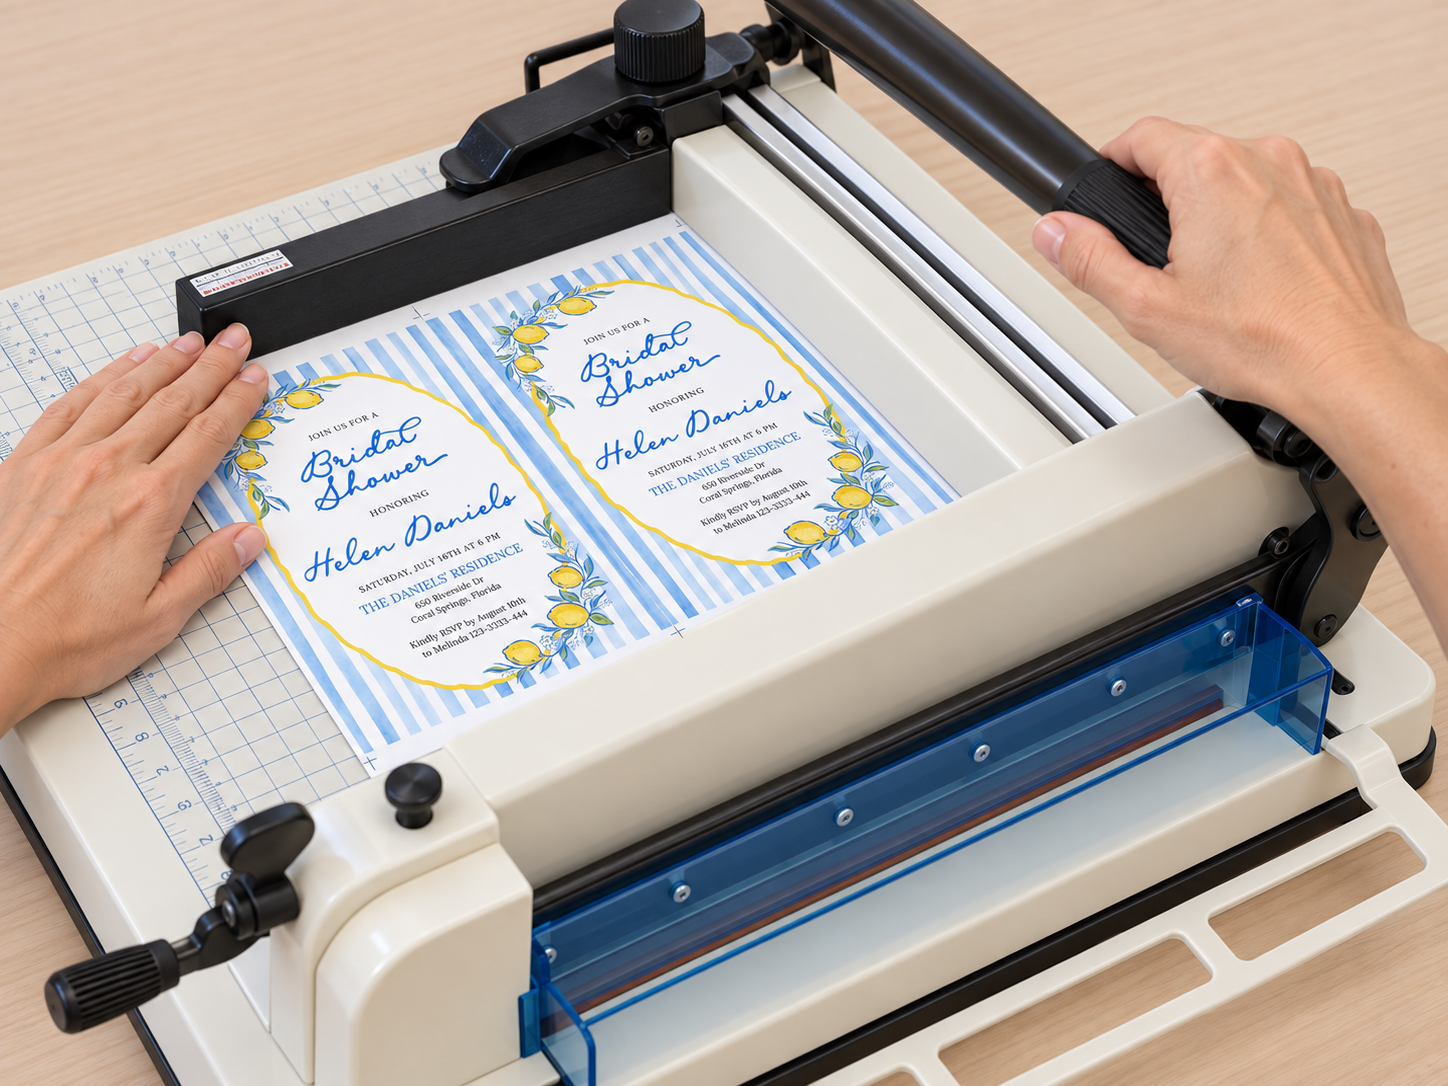
Trim at the guides. Follow your cutter's safety instructions. 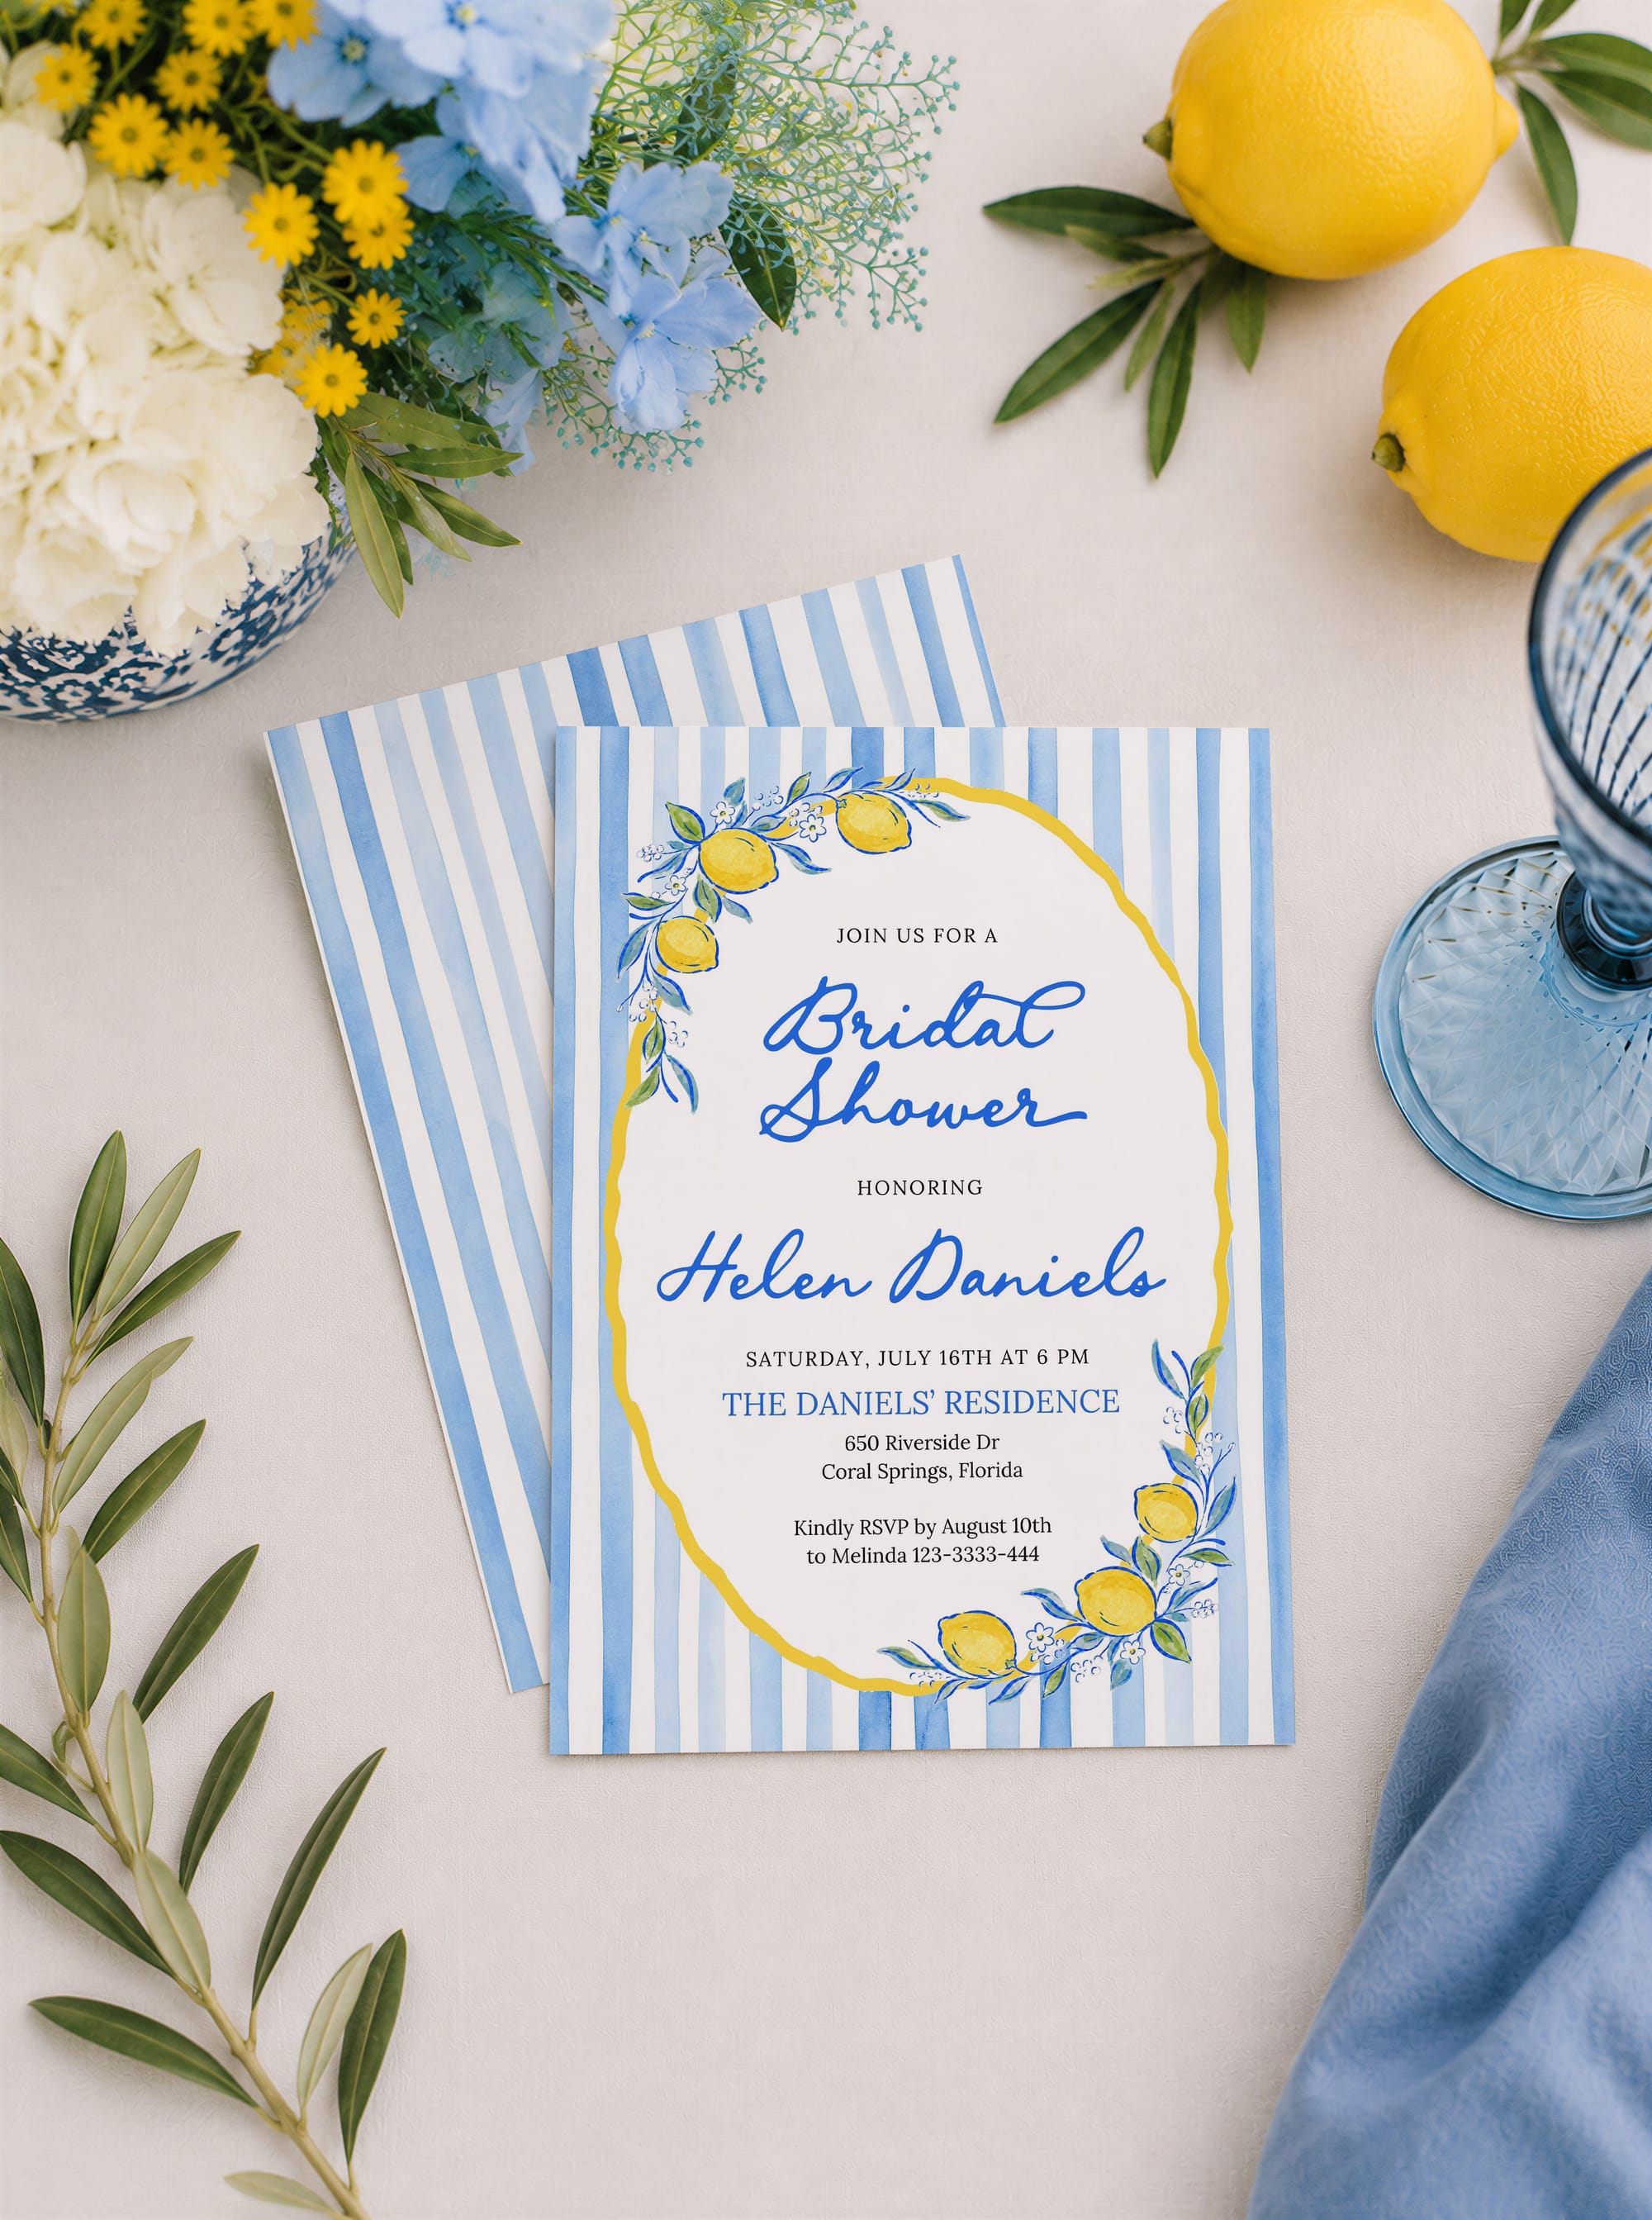
Check the finished card. Measure your trimmed test card before continuing.


If the result is wrong
- Back upside down: check the flip edge and, for manual duplex, the sheet reloading direction. Test one sheet again.
- Cards too small: check for Fit, Shrink, the wrong paper size, or a second multiple-pages-per-sheet setting. Use 100% and measure a trimmed card.
- Front and back shifted: check printer registration and paper feeding. Do not assume an on-screen match guarantees physical alignment.
- Only one invitation fits: check rotation, margins, spacing, bleed and guide space. Do not shrink the finished design just to force two onto the sheet.
Arrange your invitation sheet in Web, or get Desktop for Windows to print your prepared PDF.