How to Print 10 Gift Tags on One Letter-Size Sheet
Print ten 2 x 3.5-inch gift tags on Letter paper. Follow the Web layout, Desktop PDF printing, actual-size check, and cutting steps.
Print ten 2 x 3.5-inch gift tags on one US Letter sheet. Start with one finished tag design, arrange the copies in Web, download the PDF, then print and trim a test sheet.

Keep your Canva, Photopea, or Adobe design
Use the finished tag you already made in Canva, Photopea, Photoshop, Illustrator, or another design tool. Export it as PDF, PNG, or JPEG. PrintGrid Pro prepares the repeated sheet; you do not need to paste ten copies into your design document.
What you'll need
- One finished 2 x 3.5-inch tag design.
- US Letter paper or cardstock supported by your printer.
- A ruler and a suitable paper cutter.
- A hole punch and ribbon, if you want to attach the tag to a gift.
Keep important text away from the cut edges and leave room for a punched hole.
1. Add one finished tag

Open PrintGrid Pro Web and add your design. Select Flat, Repeat one, and Single. Choose the rectangular shape used in this example.
Check: your tag appears in the project. Keep its proportions; do not stretch the artwork to fill an unrelated shape.
2. Set the tag size and quantity
- Width: 2 inches.
- Height: 3.5 inches.
- Paper: US Letter.
- Orientation: Auto, producing landscape here.
- Quantity: 10.
- Trim Guides: Marks.
This example uses a 0.11-inch margin, 0.10-inch gap, and 0-inch bleed. These values show this particular sheet, not settings every printer or design can use.
If your printer needs larger margins, use them and check how many tags still fit. If color must reach the cut edge, prepare the design's bleed correctly before making the final sheet.
Check: the preview shows two rows of five tags without reducing the finished size.
3. Check all ten tags before downloading
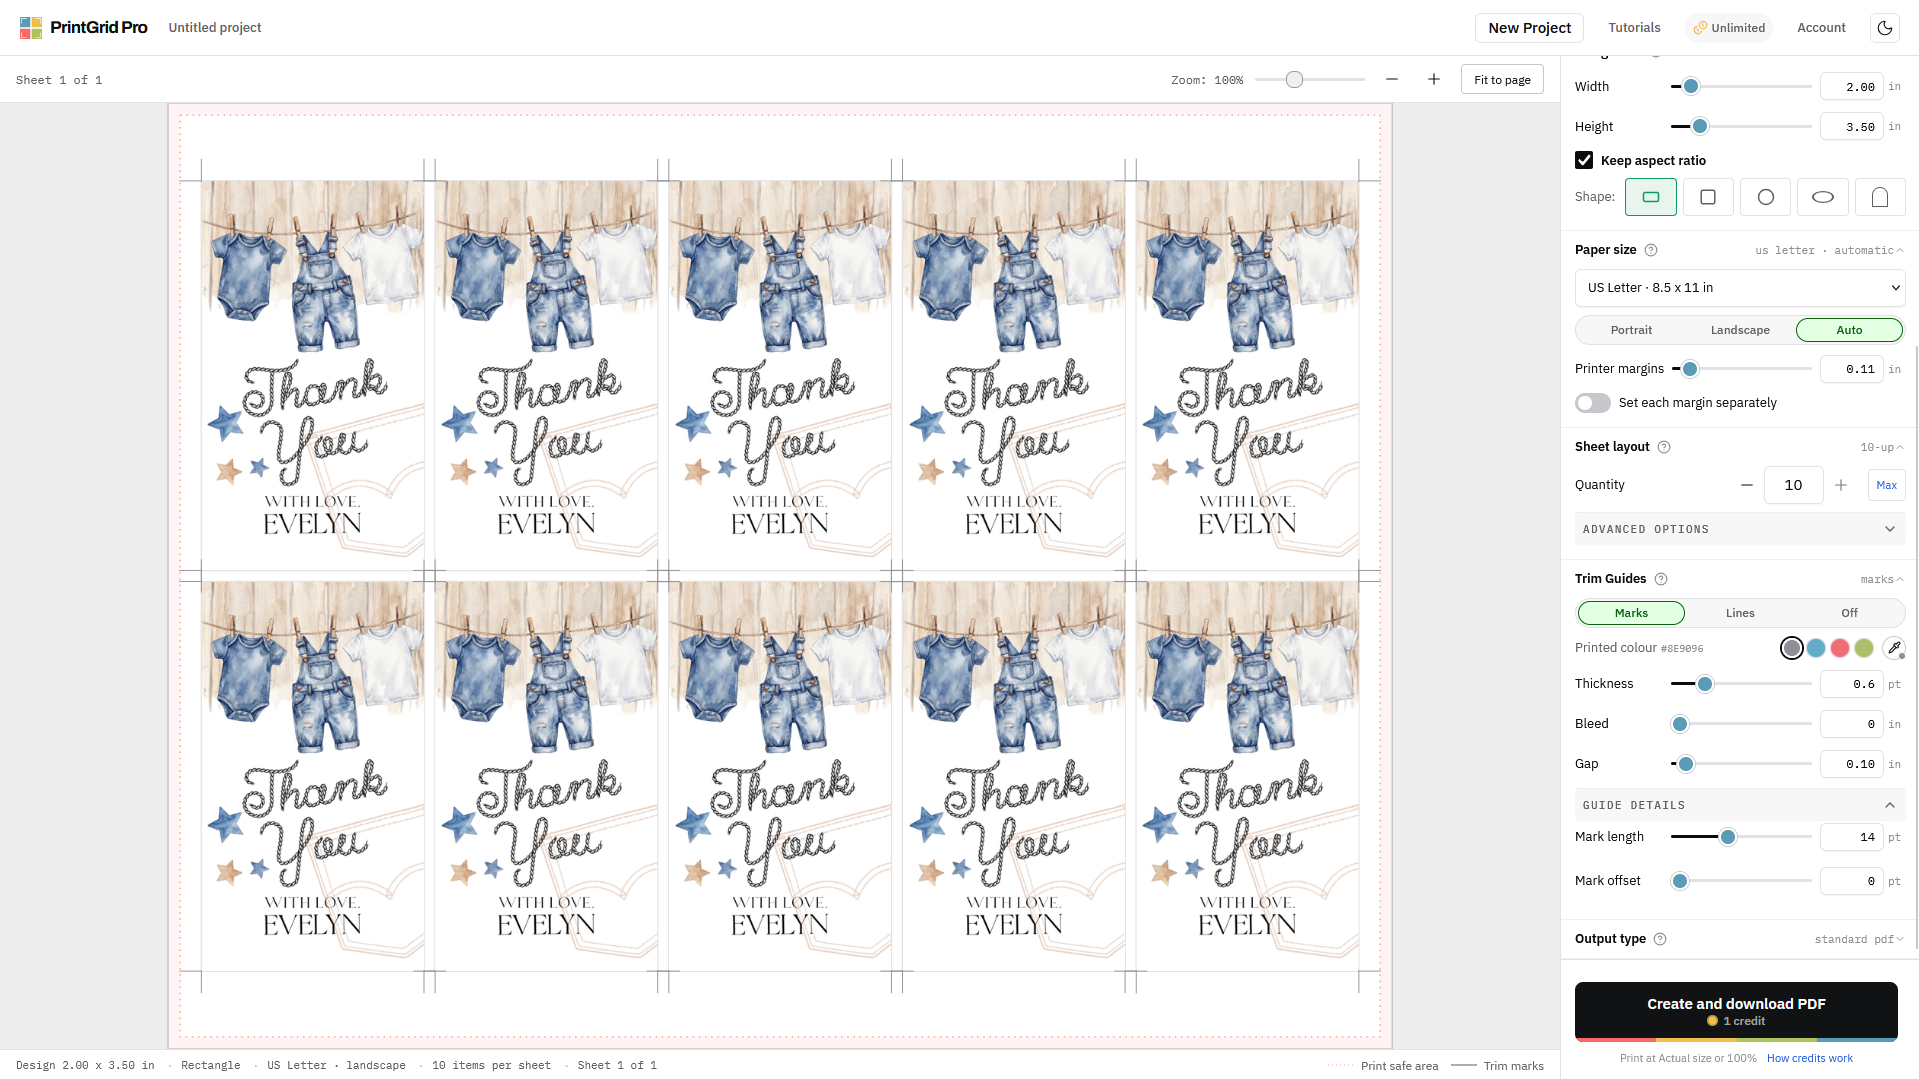
Count the tags and check the artwork is upright, proportional, and complete. Look for cutting marks outside the card edges. Keep the layout inside the printable area your printer supports.
Select Create and download PDF after checking the displayed cost. This one-page example shows 1 credit. Trial credits are not unlimited free exports.
Check: open the PDF. This example has one 11 x 8.5-inch landscape page containing ten tags. It is a complete sheet, not a single tag to repeat again.
4. Open the PDF in Desktop and print at actual size
On Windows, open the complete PDF in PrintGrid Pro Desktop. Desktop Free prints the PDF's existing page contents, including the tags and marks already inside it. Another suitable PDF printing app can also print this sheet.
Desktop Pro is for creating and outputting a new multiple-card layout or new Pro cutting guides inside Desktop. You do not need to rebuild the downloaded Web sheet.
- Select your printer and US Letter, landscape paper.
- Select Actual size / 100%. Do not use Fit or shrink the page.
- Print one PDF page per sheet. Do not apply another ten-per-sheet setting.
- Choose single-sided printing and print one test sheet.
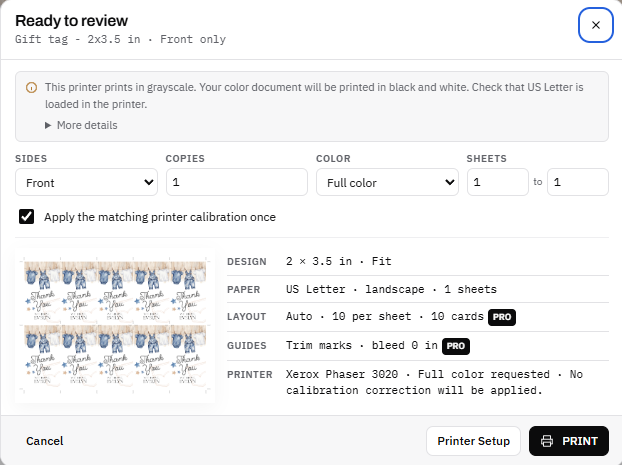
The same review warns that the selected printer prints in grayscale. For the blue design shown here, use a color-capable printer. Selecting Full color cannot make a grayscale printer print color.
5. Trim and measure one tag
Follow the cutting marks, using your cutter according to its safety instructions. Trim one tag first and measure it: it should be 2 x 3.5 inches, or 50.8 x 88.9 mm.
Check that the text and artwork are not clipped. If the size is correct, cut the remaining tags. Punch a hole only where it will not damage important artwork, then add ribbon if needed.
The supplied scenes below illustrate printing, cutting, and a finished gift presentation. Use your own measured test to approve the batch.
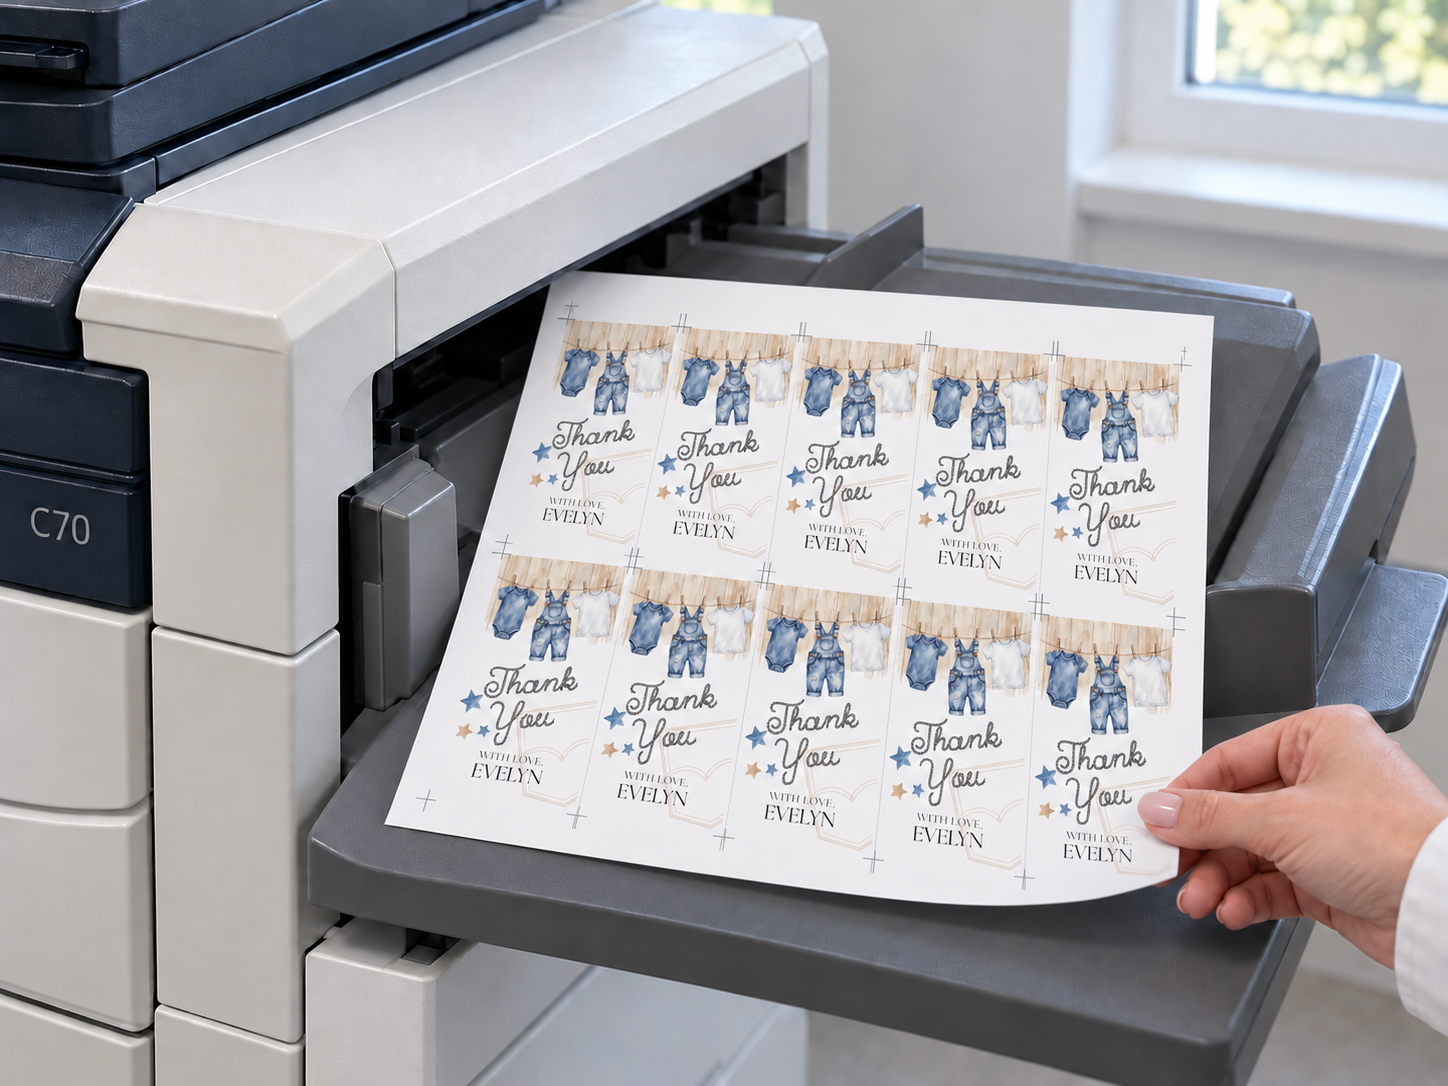
Print one sheet. Check scale and color before printing more. 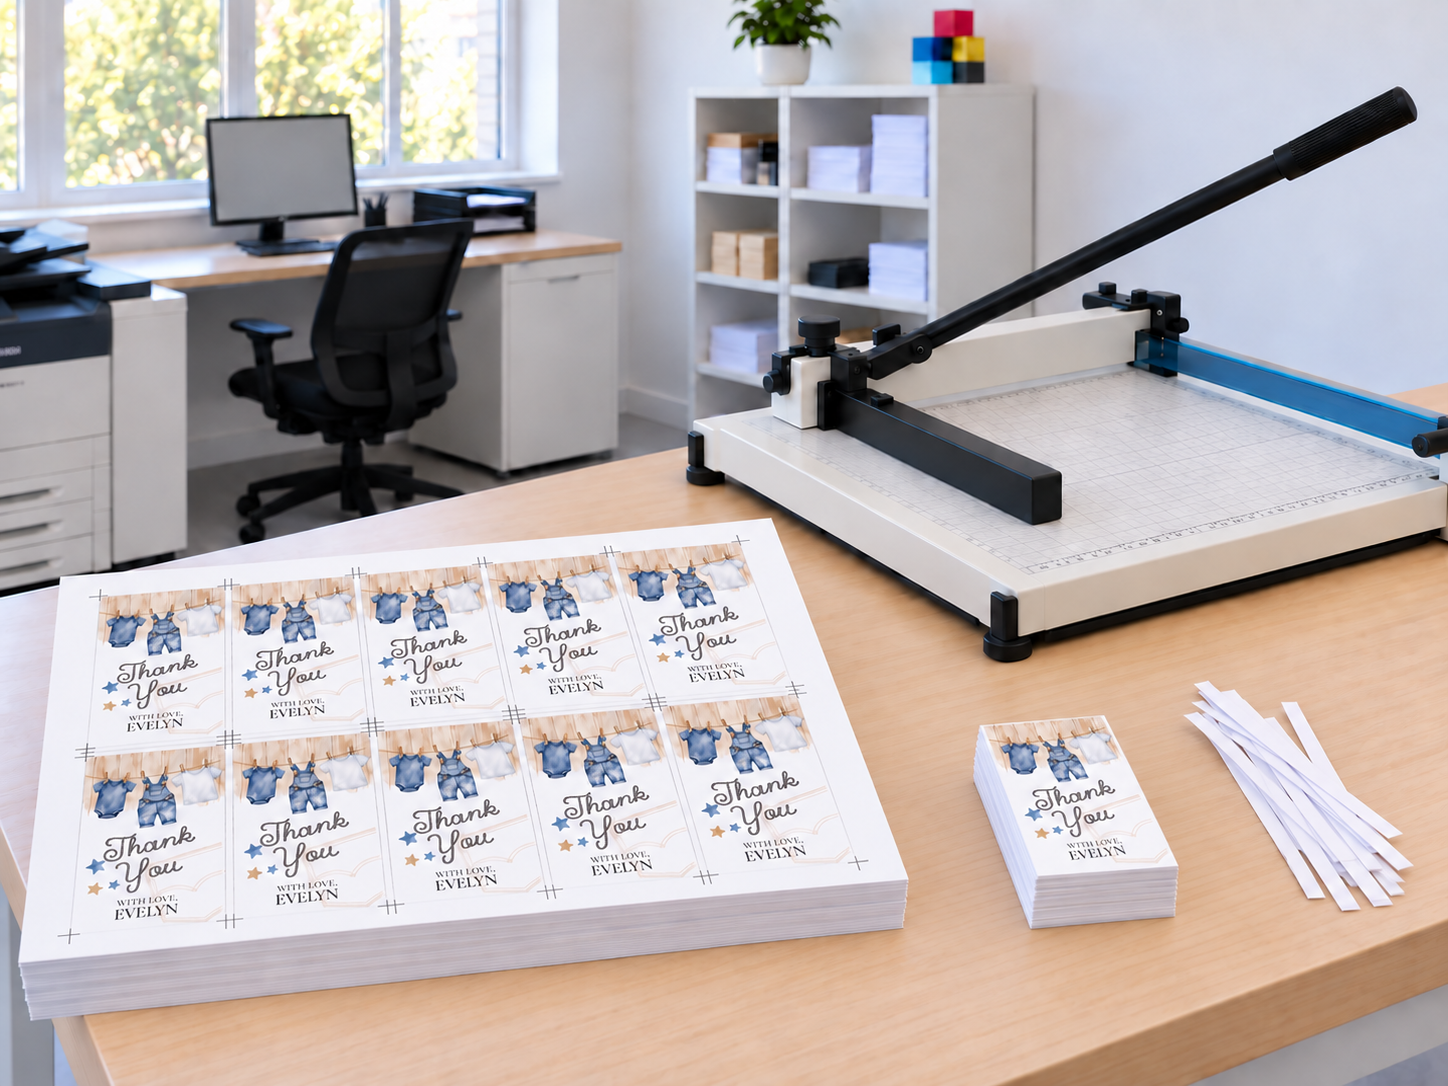
Cut at the marks. Measure one tag before finishing the sheet. 
Attach your tag. Add a hole and ribbon if your design needs them.


If your tags do not print as expected
- Tags are too small: switch off Fit or Shrink, confirm Letter paper, and use Actual size / 100%.
- Fewer than ten fit: confirm 2 x 3.5 inches and check orientation, margins, gap, and guide space. Do not shrink the tag to hide the issue.
- A white sliver appears at an edge: check the cut and whether your design needs artwork extended beyond its finished edge. This example uses zero bleed; that is not a rule for every design.
- The print is black and white: check the printer's capabilities and driver settings.
Arrange your tag sheet in Web, then print the prepared PDF with Desktop for Windows.